
Create a 'trip brochure' on the trip Overview using Overview Blocks
TripMapper 'Trip Brochures' are the perfect tool to give your clients the 'wow factor'. With many different layouts to choose from, you can customise the 'trip brochure' to best suit your needs and the stage of the process, whether proposal or approved upcoming trip.
You can also dcustomise which information and images are shown to your clients at the proposal stage and the upcoming trip stage.
Trip brochure example:

Follow the step-by-step guide below to learn how to create a visually enticing and informative 'trip brochure' on the Overview:
The Overview screen is where you will create your trip brochure.
In the top field, add a brief description to describe the trip (markdown is available). The note you add in this section will appear on the digital itinerary you share with clients and will be the introductory text on the first page of the PDF itinerary download. You may also attach files if you wish.
Remain on the Overview page and scroll down. You will see a panel which contains different formatting options for creating the Blocks.
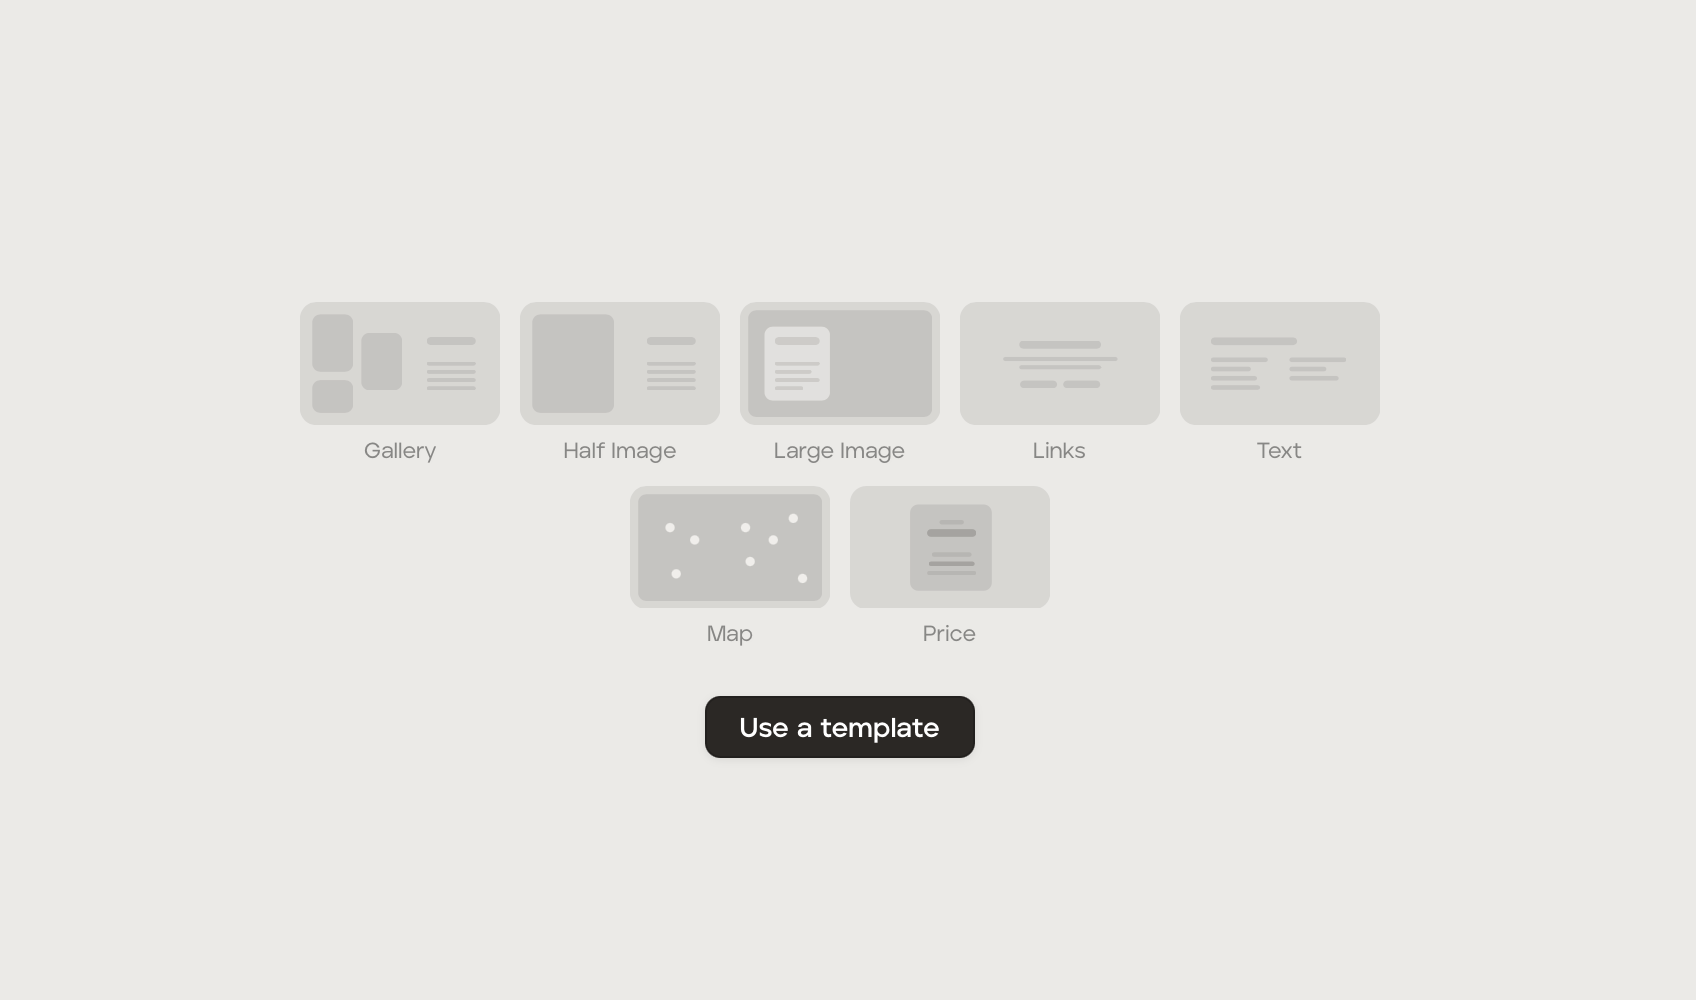
You have a range of formatting 'blocks' to pick from:
Gallery - Three images plus text, aligned to the left or the right. We recommend using high-resolution images.
Half image: An image on one half of the block and text on the other half.
Large image - A large image with or without a text box over the image.
Links - Text and customised buttons e.g. 'View itinerary', "Approve Proposal" or 'Call us".
Text - A text-only block.
Map - Itinerary cards with locations can be added to the map.
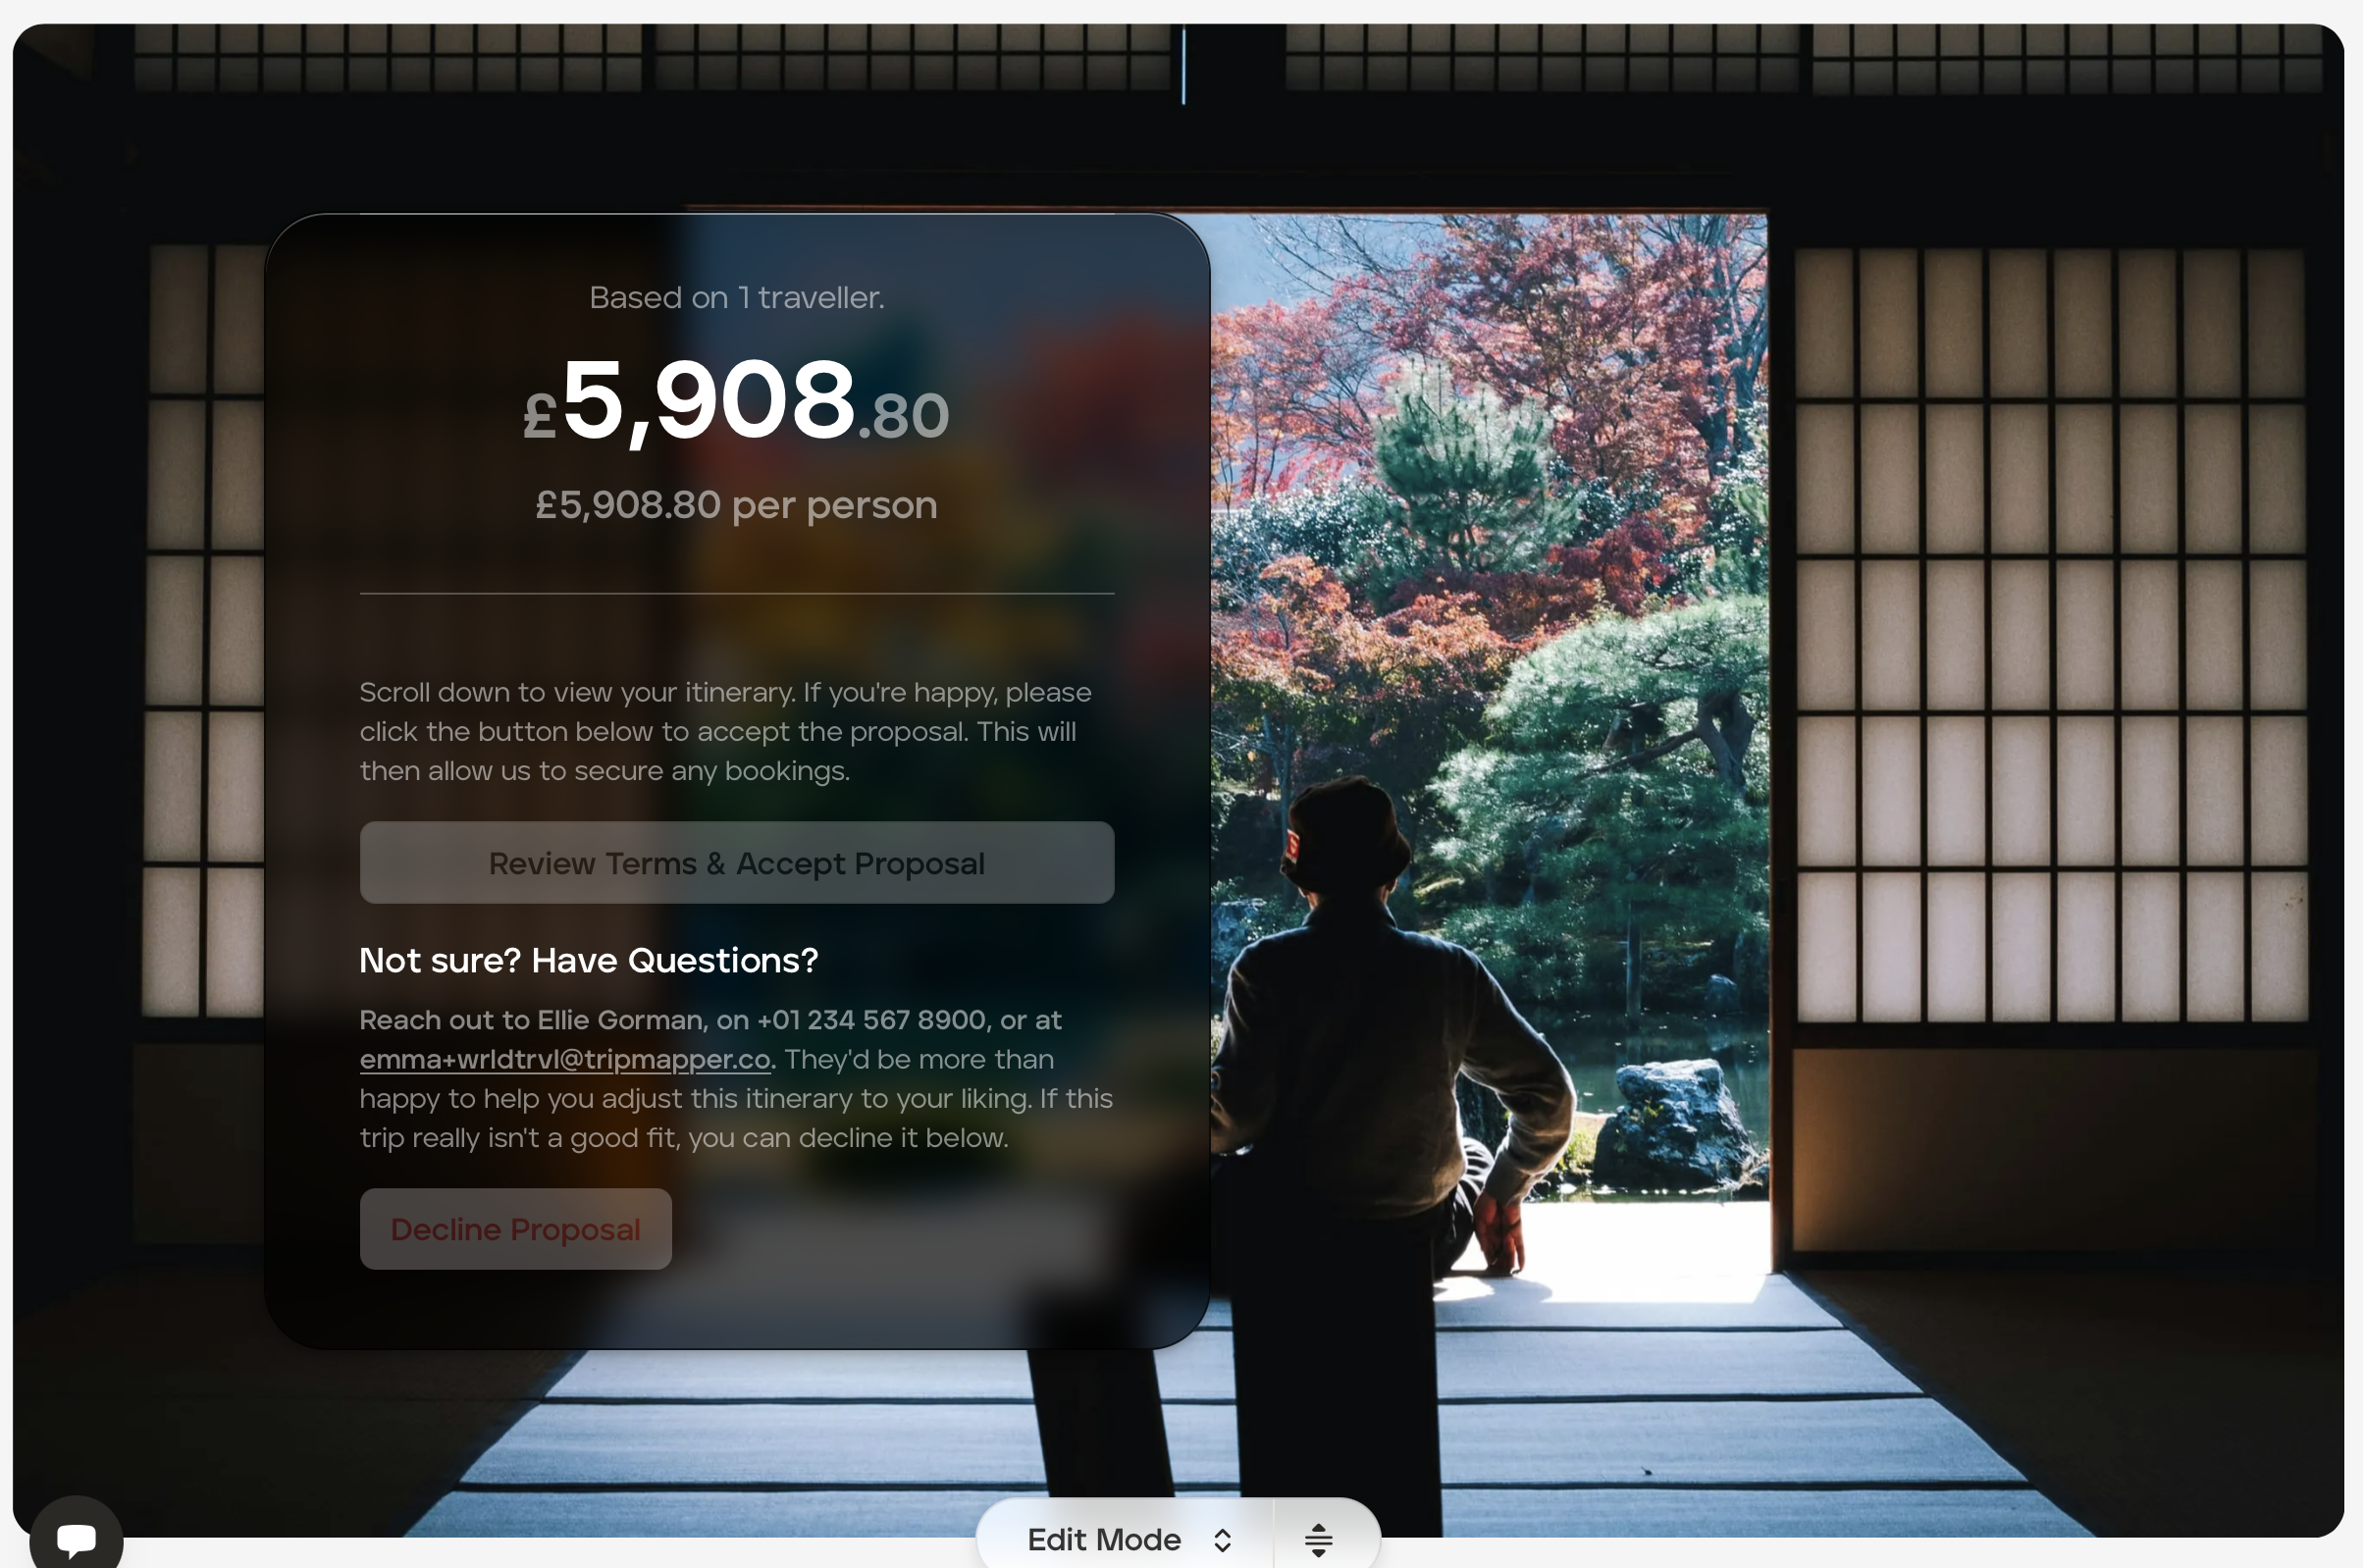
Price - You can decide where you want to place the client price. Price blocks are only visible on the proposal, once accepted they will be hidden from the Overview.
Plus, if you have already created a template block you can quickly add those template blocks to any itinerary to save you time.
Gallery block
The gallery allows you to add three images plus text, aligned to the left or the right. We recommend using high-resolution images.
Click the 'Gallery' icon (you must be in 'Edit Mode' which is the default in the dropdown menu at the bottom of your screen).
Click the 'Settings' tab. In the 'Visibility' section you can choose whether to show this block on the proposal, the upcoming trip, or both. Whatever you enable will show at the top of the block once added.
Click the 'Content' tab. Fill in the fields you wish to include (you do not need to complete all fields):
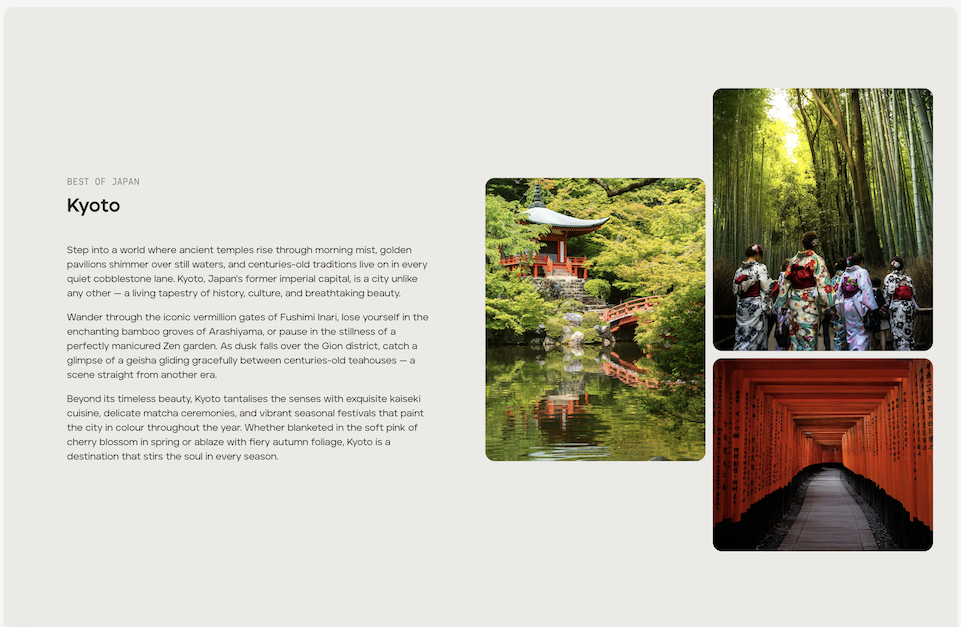
Sub-heading e.g. Best of Japan
Heading e.g. Kyoto
Text - Add your text
Text position - Choose to align the text to the left or right.
Images - Add up to three high-resolution images.
Highlights - You can display highlights (selected items from the itinerary if you wish.
Docs - You can add template documents if you wish.
Attachments - You can add attachments if you wish.
Example of a gallery block:
Half image block
The half-image block allows you to add an image to one half of the block and text to the other half.
Click the 'Half image' icon (you must be in 'Edit Mode' which is the default in the dropdown menu at the bottom of your screen).
Click the 'Settings' tab. In the 'Visibility' section you can choose whether to show this block on the proposal, the upcoming trip, or both. Whatever you enable will show at the top of the block once added.
Click the 'Content' tab. Fill in the fields you wish to include (you do not need to complete all fields):
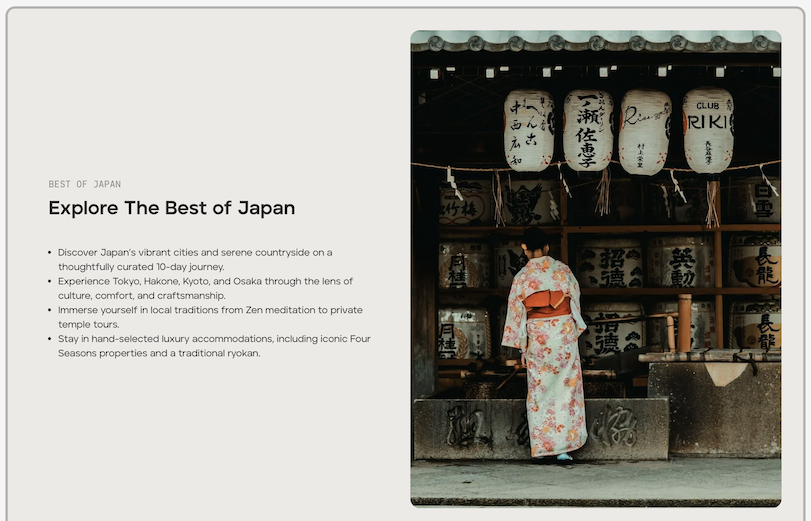
Sub-heading e.g. Best of Japan
Heading e.g. Explore the Best of Japan
Text - Add your text
Text position - Choose to align the text to the left or right.
Image - Add your high-resolution image.
Highlights - You can display highlights (selected items from the itinerary if you wish.
Docs - You can add template documents if you wish.
Attachments - You can add attachments if you wish.
Example of a half image block:
Large image block/ Video block
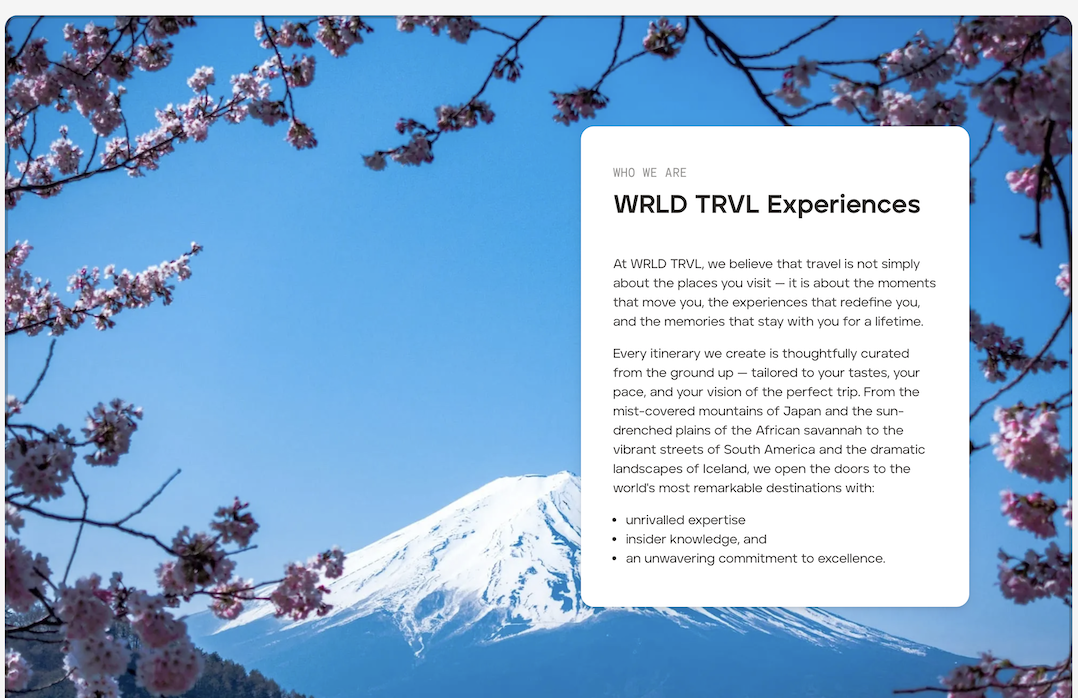
The large image block allows you to add a large image with or without a text box over the image.
Click the 'Large Image' icon (you must be in 'Edit Mode' which is the default in the dropdown menu at the bottom of your screen).
Click the 'Settings' tab. In the 'Visibility' section you can choose whether to show this block on the proposal, the upcoming trip, or both. Whatever you enable will show at the top of the block once added.
Click the 'Content' tab. Fill in the fields you wish to include (you do not need to complete all fields):
Sub-heading e.g. Who we are
Heading e.g. WRLD TRVL Experiences
Text - Add your text
Text position - If you wish to add a text block, choose to align the text to the left or right.
Image or Video- Add your high-resolution image or video.
Highlights - You can display highlights (selected items from the itinerary if you wish.
Docs - You can add template documents if you wish.
Attachments - You can add attachments if you wish.
Example of a large image block:
Links block
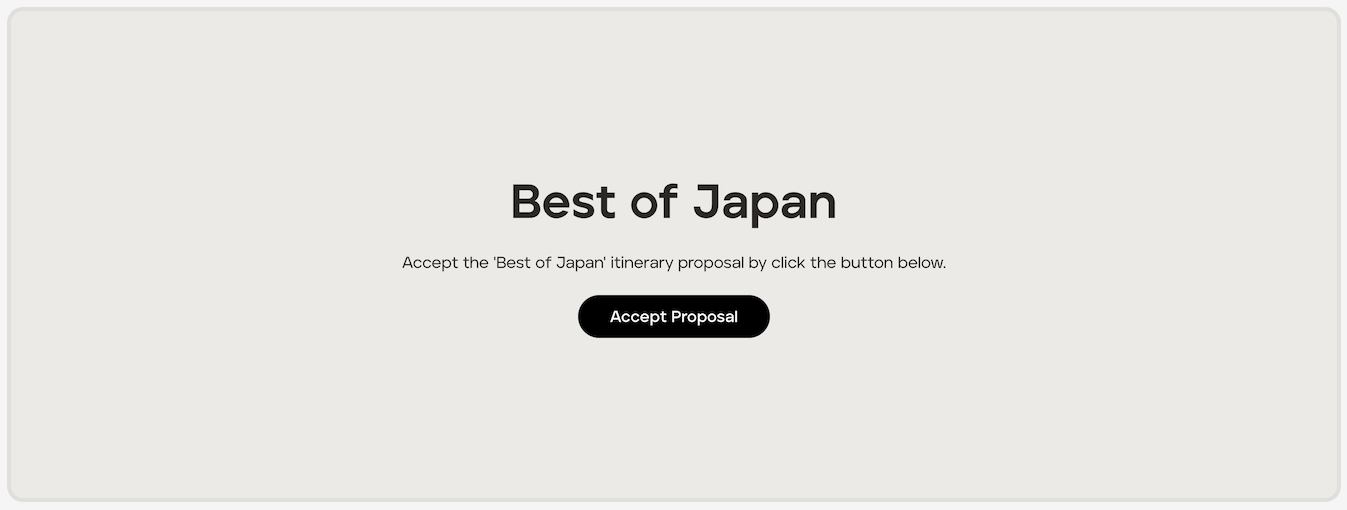
The links block allows you add text and customised buttons e.g. 'View itinerary', "Accept Proposal" or "Call us".
Click the 'Links' icon (you must be in 'Edit Mode' which is the default in the dropdown menu at the bottom of your screen).
Click the 'Settings' tab. In the 'Visibility' section you can choose whether to show this block on the proposal, the upcoming trip, or both. Whatever you enable will show at the top of the block once added.
Click the 'Content' tab.
Fill in the fields you wish to include (you do not need to complete all fields):
Heading e.g. Best of Japan
Text - Add your text eg. Accept the 'Best of Japan' itinerary proposal by click the button below.
Links - Make your selection from the dropdown menu, eg. 'Accept Proposal, Decline Proposal, Itinerary or URL.
Example of a links block:
Text block
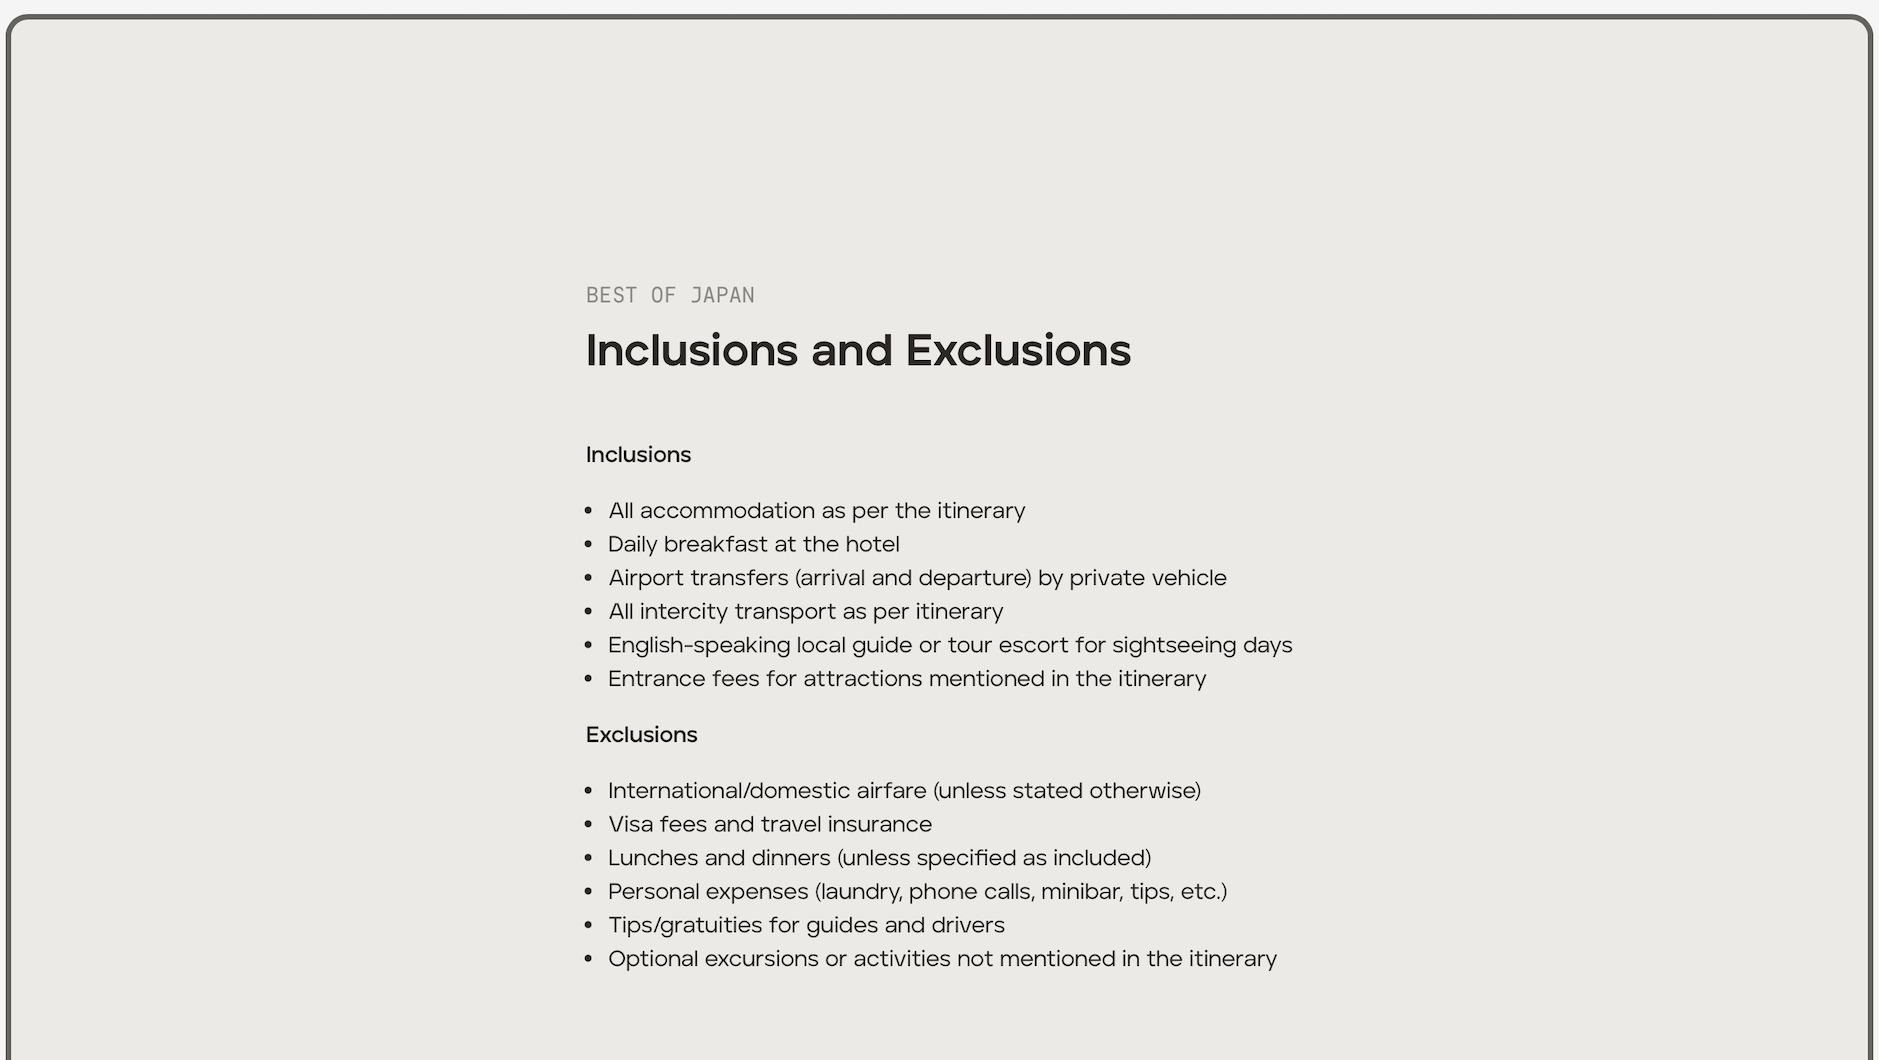
The text block allows you to add a text-only block.
Click the 'Text' icon (you must be in 'Edit Mode' which is the default in the dropdown menu at the bottom of your screen).
Click the 'Settings' tab. In the 'Visibility' section you can choose whether to show this block on the proposal, the upcoming trip, or both. Whatever you enable will show at the top of the block once added.
Click the 'Content' tab. Fill in the fields you wish to include (you do not need to complete all fields):
Sub-heading e.g. Best of Japan
Heading e.g. Inclusions and Exclusions
Max Columns - Pick the numnber of columns to split the text across.
Text - Add your text.
Highlights - You can display highlights (selected items from the itinerary if you wish.
Docs - You can add template documents if you wish.
Attachments - You can add attachments if you wish.
Example of a text block:
Map block
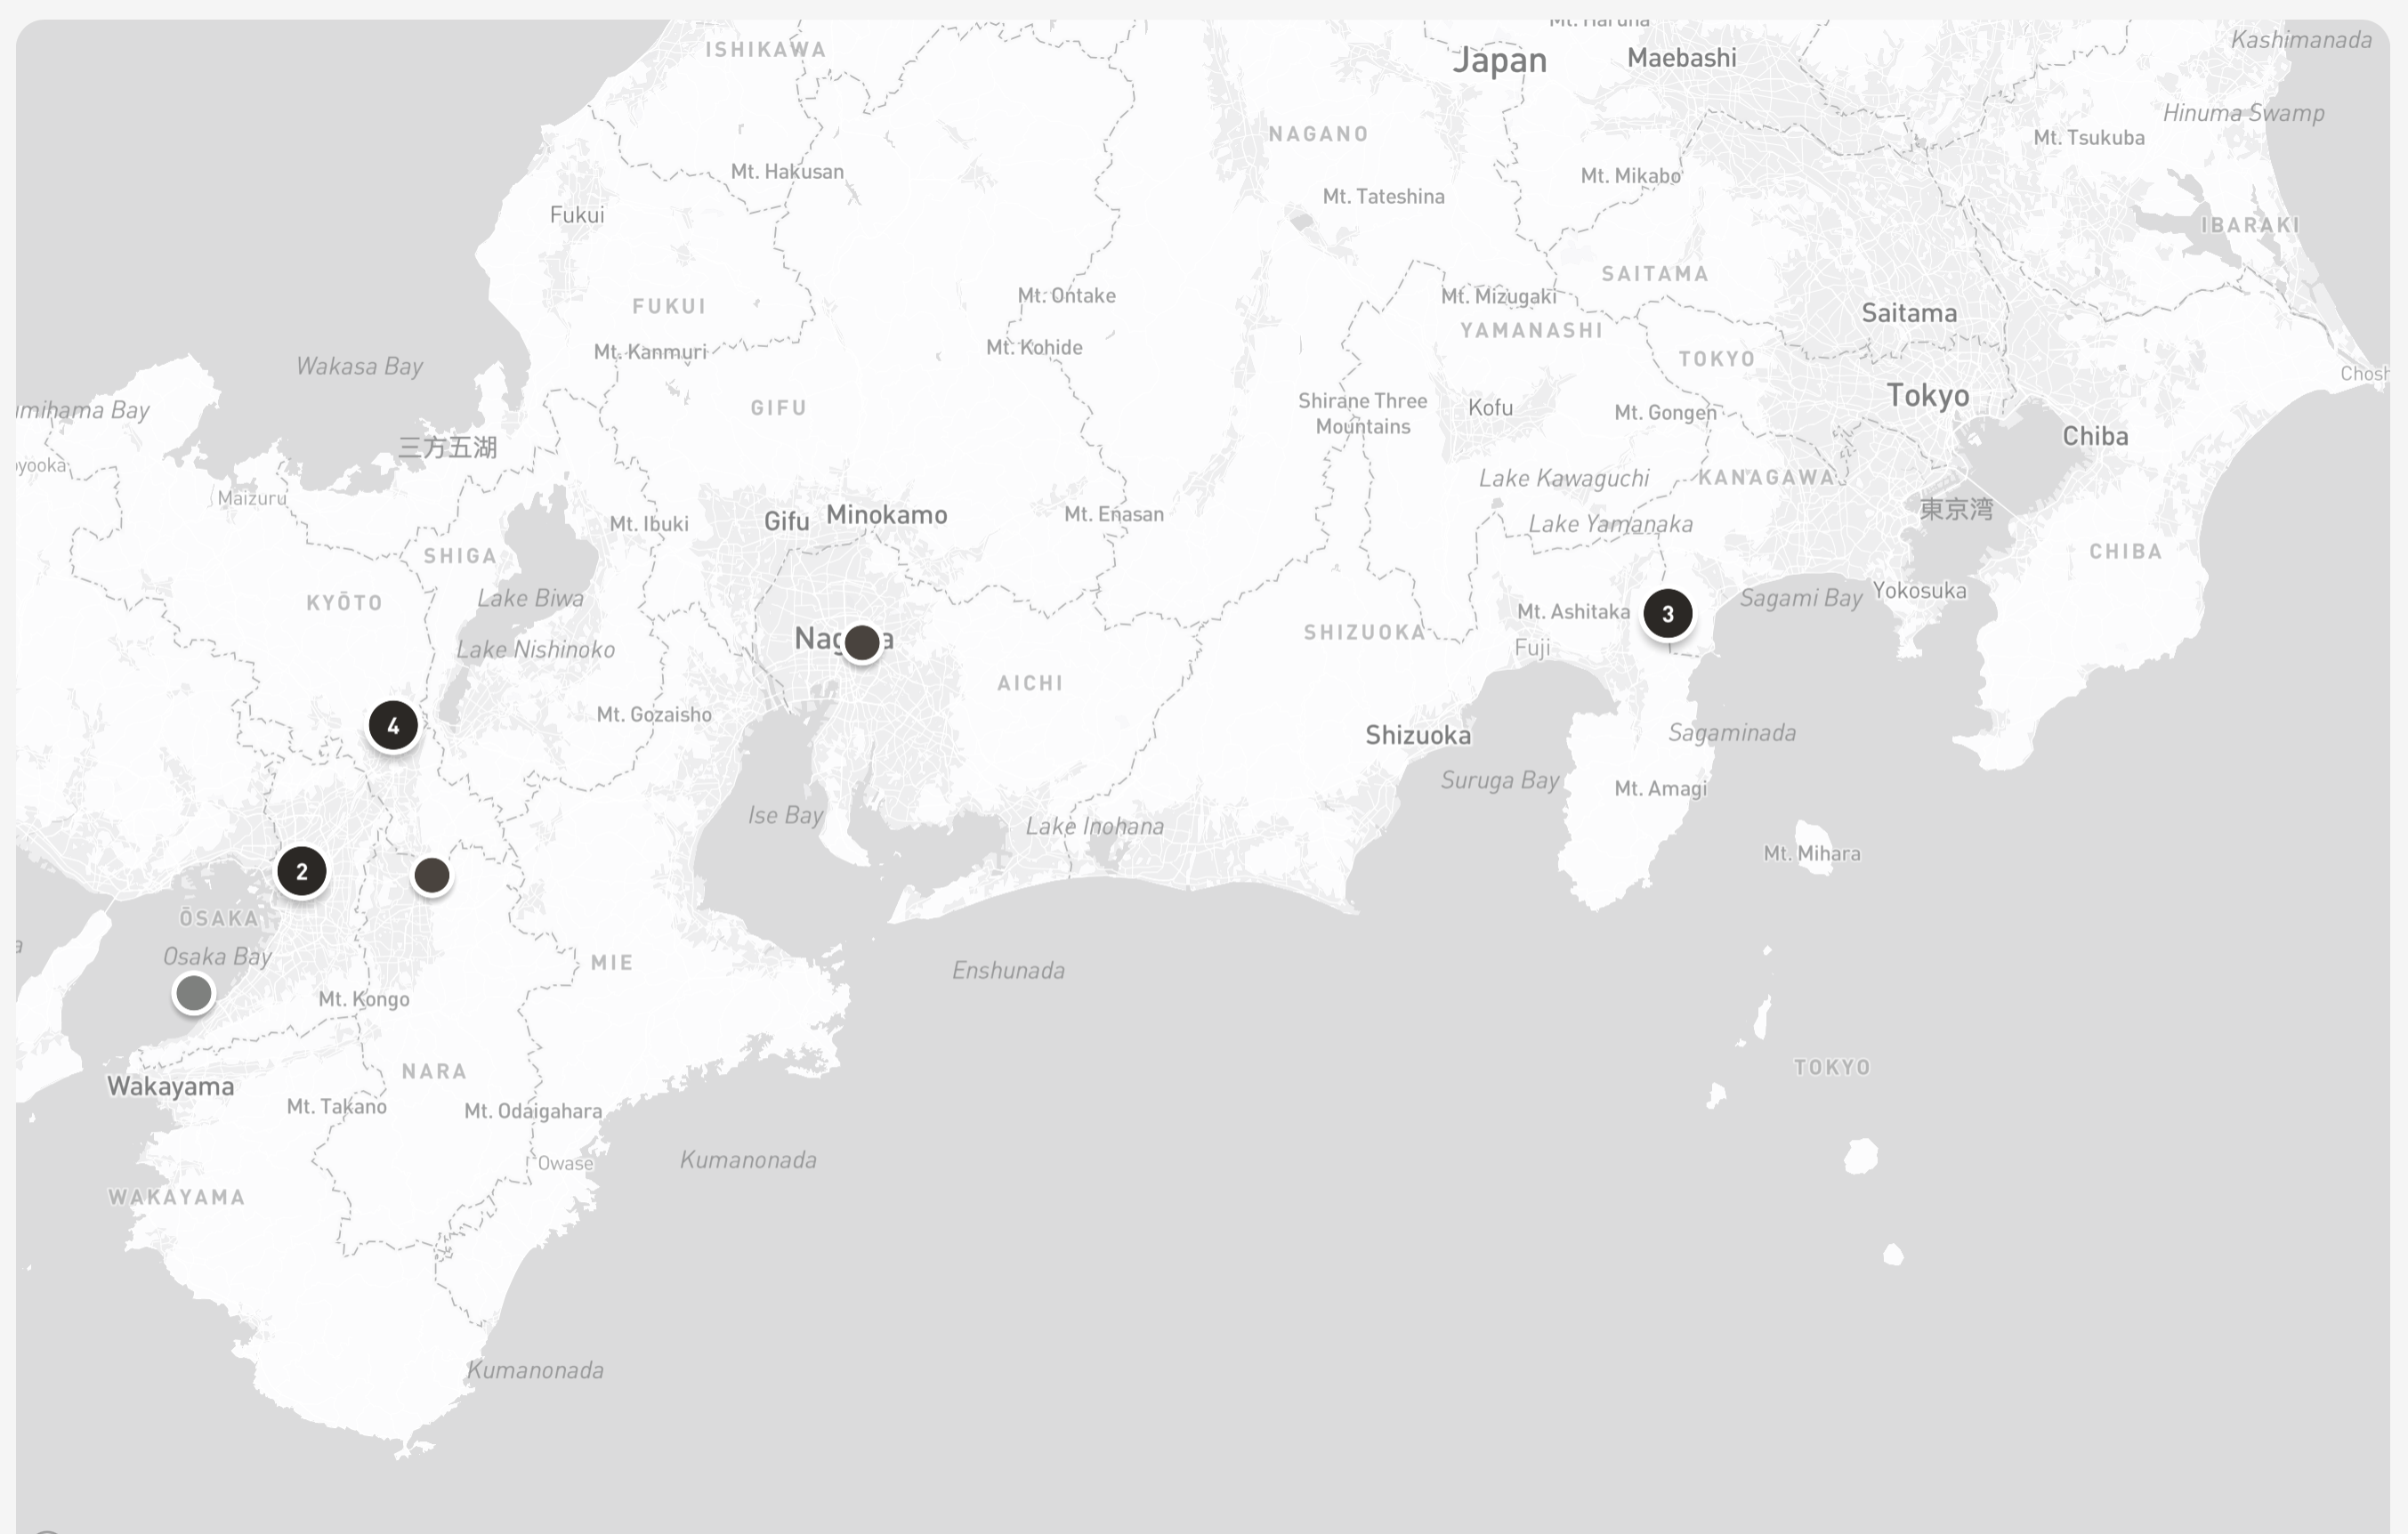
The map block allows you to show locations of the itinerary cards (if locations have been added to the cards).
Click the 'Map' icon (you must be in 'Edit Mode' which is the default in the dropdown menu at the bottom of your screen).
Click the 'Settings' tab. In the 'Visibility' section you can choose whether to show this block on the proposal, the upcoming trip, or both. Whatever you enable will show at the top of the block once added.
Click the 'Content' tab. Fill in the fields you wish to include (you do not need to complete all fields):
Sub-heading - You can add a sub-heading such as the trip name. In the example below this has been left blank.
Heading - You can add a heading. In the example below this has been left blank.
Text - You can add a text box. In the example below this has been left blank.
Text Position - If you wish to add a text block, choose to align the text to the left or right.
Map Style - Select your preferred map style from the drop down list.
Cards - Click '+Add' to select items from the itinerary to be plotted on the map.
Example of a map block:
Price Block
You have the ability to drag and drop your price block, alongside your terms (if added) to wherever you wish in the block order. Price blocks are only visible on the proposal, once the proposal has been accepted it will be hidden from the overview.
You can add a background image and whether you would like the text box to be aligned on the right or left.
Use a template from your template block library
To pull in a template itinerary from your template block library:
Ensure you are in 'Edit Mode'.
Click the 'Use a template' button.
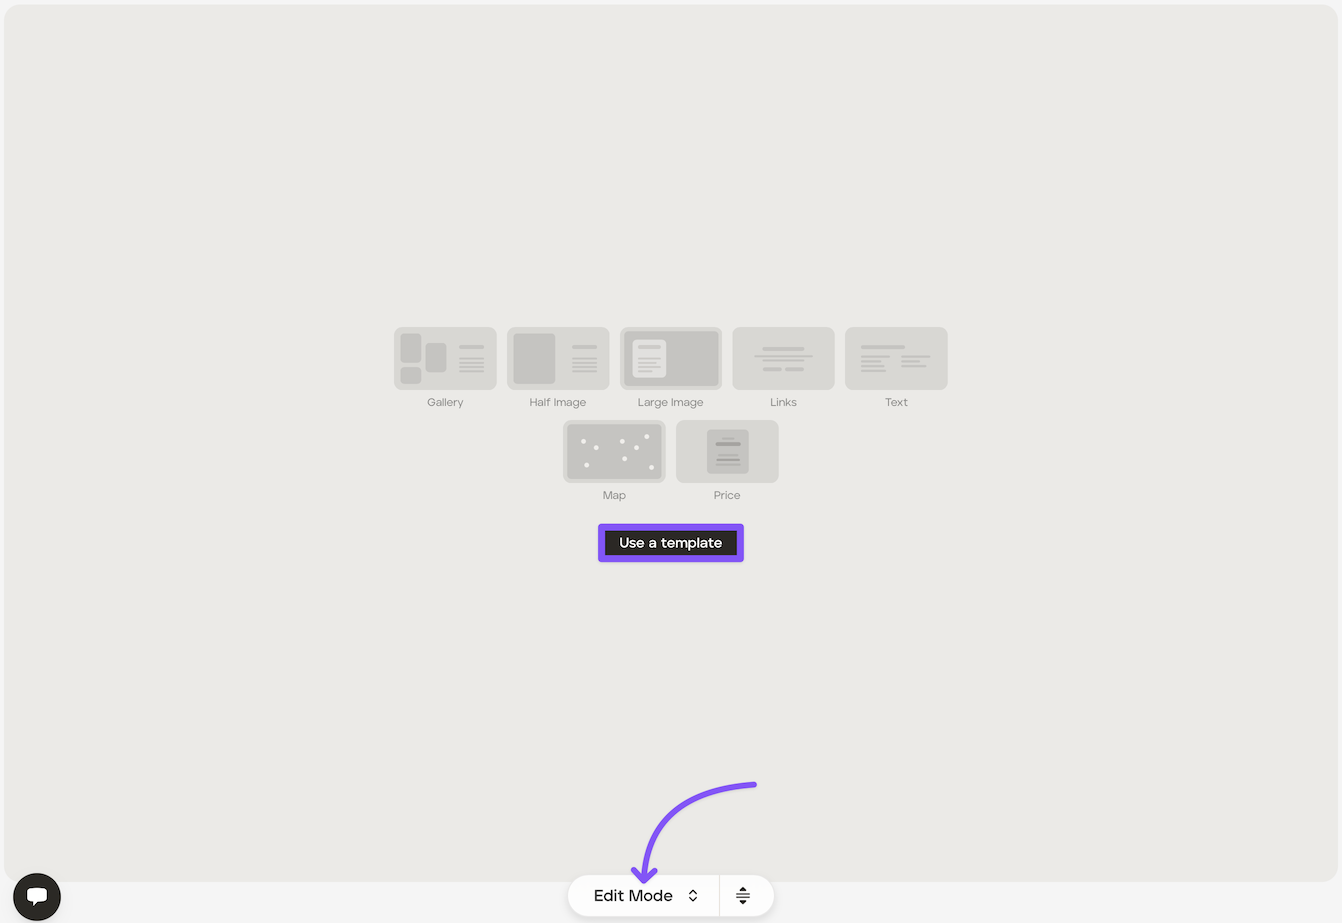
Select the template block you wish to add to the Overview.
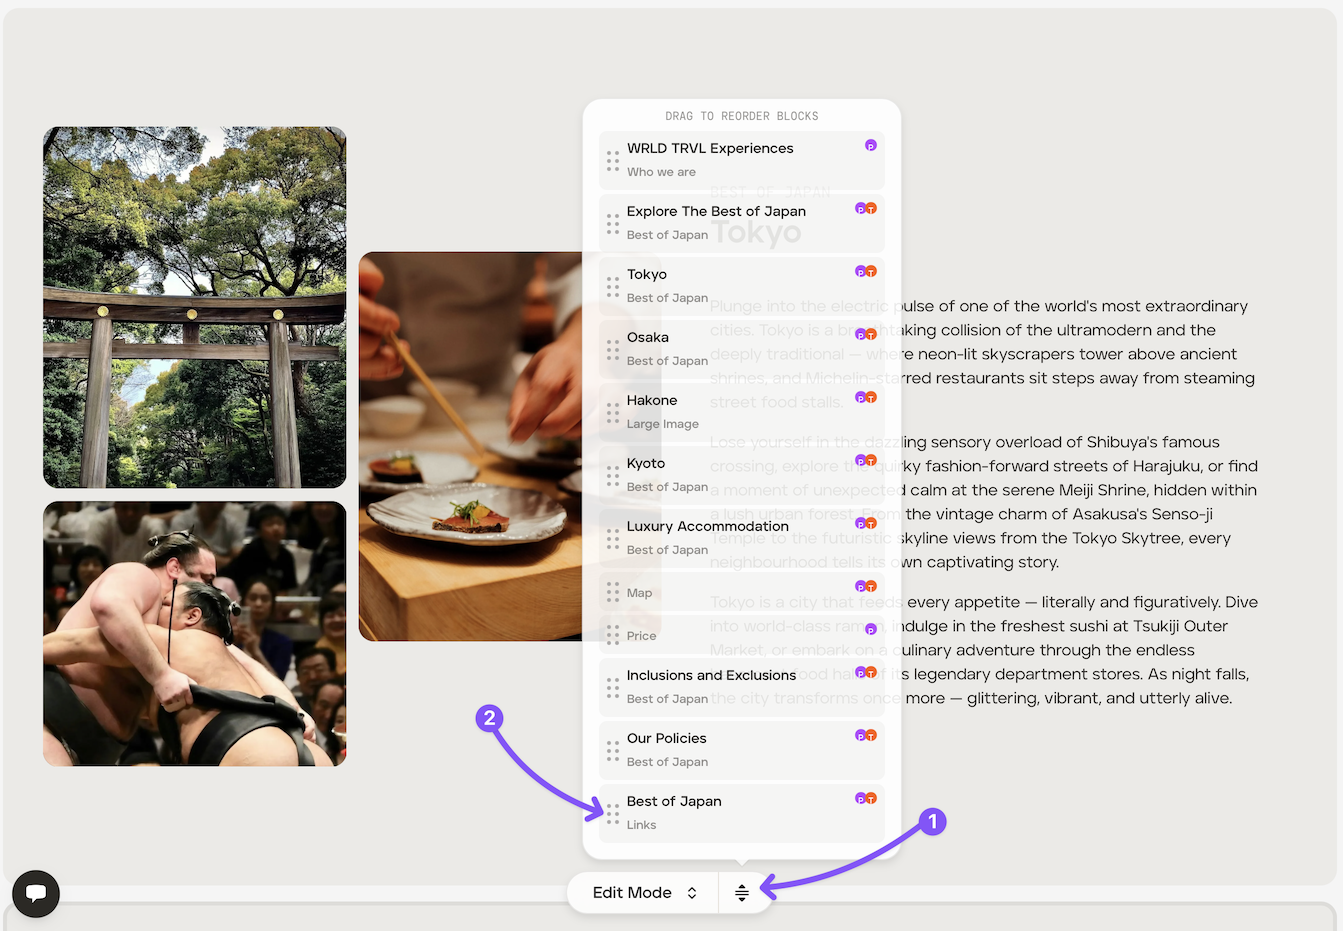
Drag and drop blocks
To drag and drop blocks you have added, click the select icon (shown at '1' in the screenshoot below) to bring up your block list, and then click the relevant reorder icon to drag a block (shown at '2' in the screenshot below) to your preferred location.
Duplicate blocks
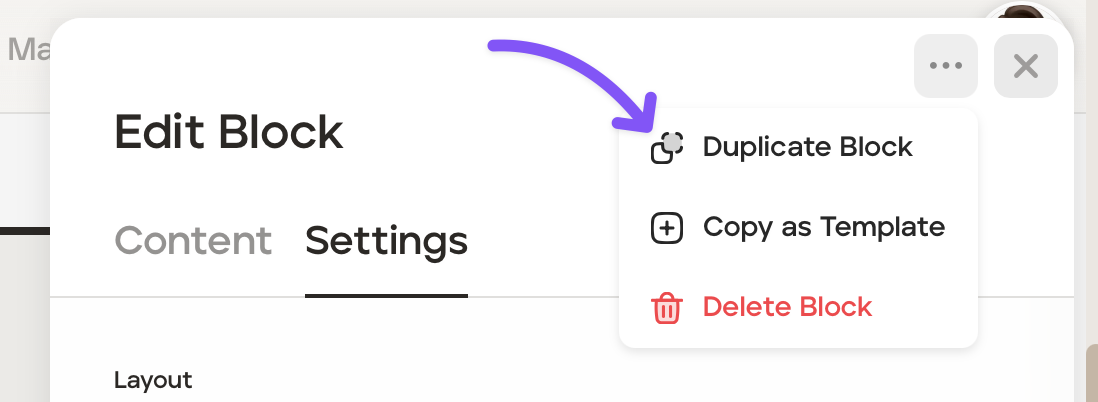
To duplicate blocks you have added:
Click the applicable block.
In the top right of the block click the three dot icon.
Click 'Duplicate Block.'
Drag and drop the duplicated block where required.
Create a template from a block you have created
To create a template from a block you have created:
Click the applicable block.
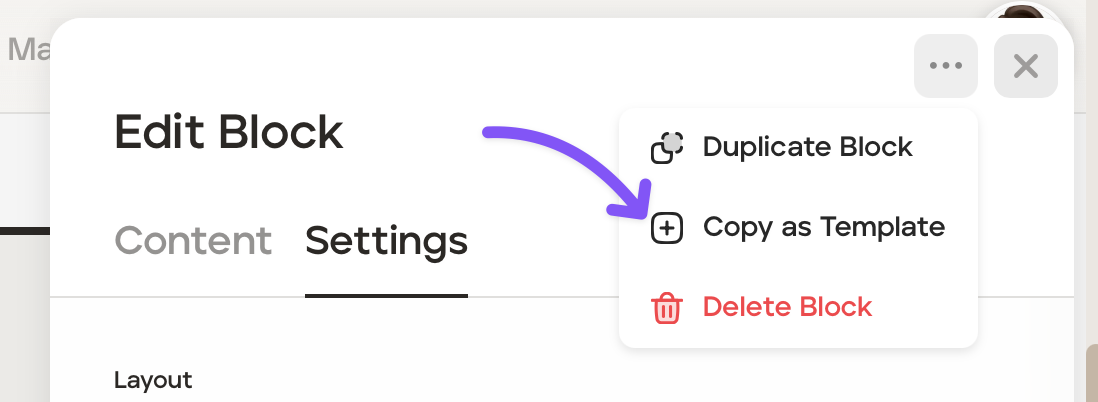
In the top right of the block click the three dot icon.
Click 'Copy as Template.'
Delete a block
To delete a block you have created:
Click the applicable block.
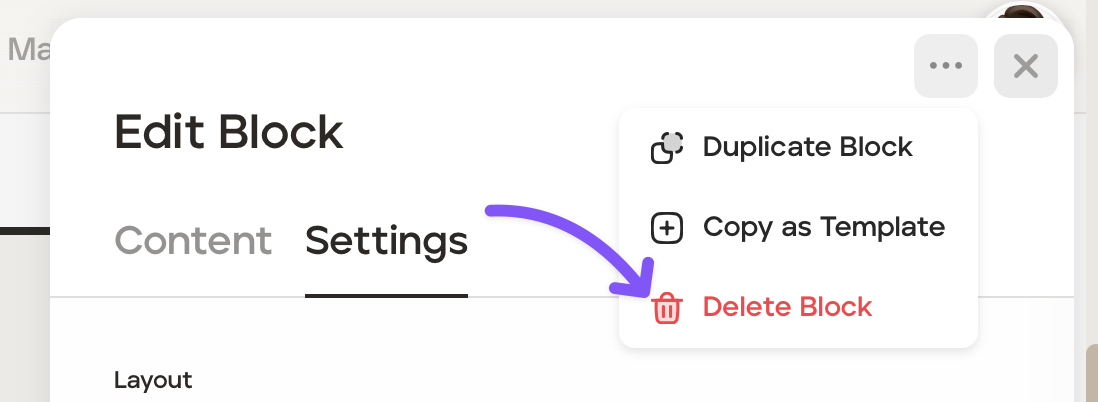
In the top right of the block click the three dot icon.
Click 'Delete block.'
Viewing the Overview 'travel brochure'
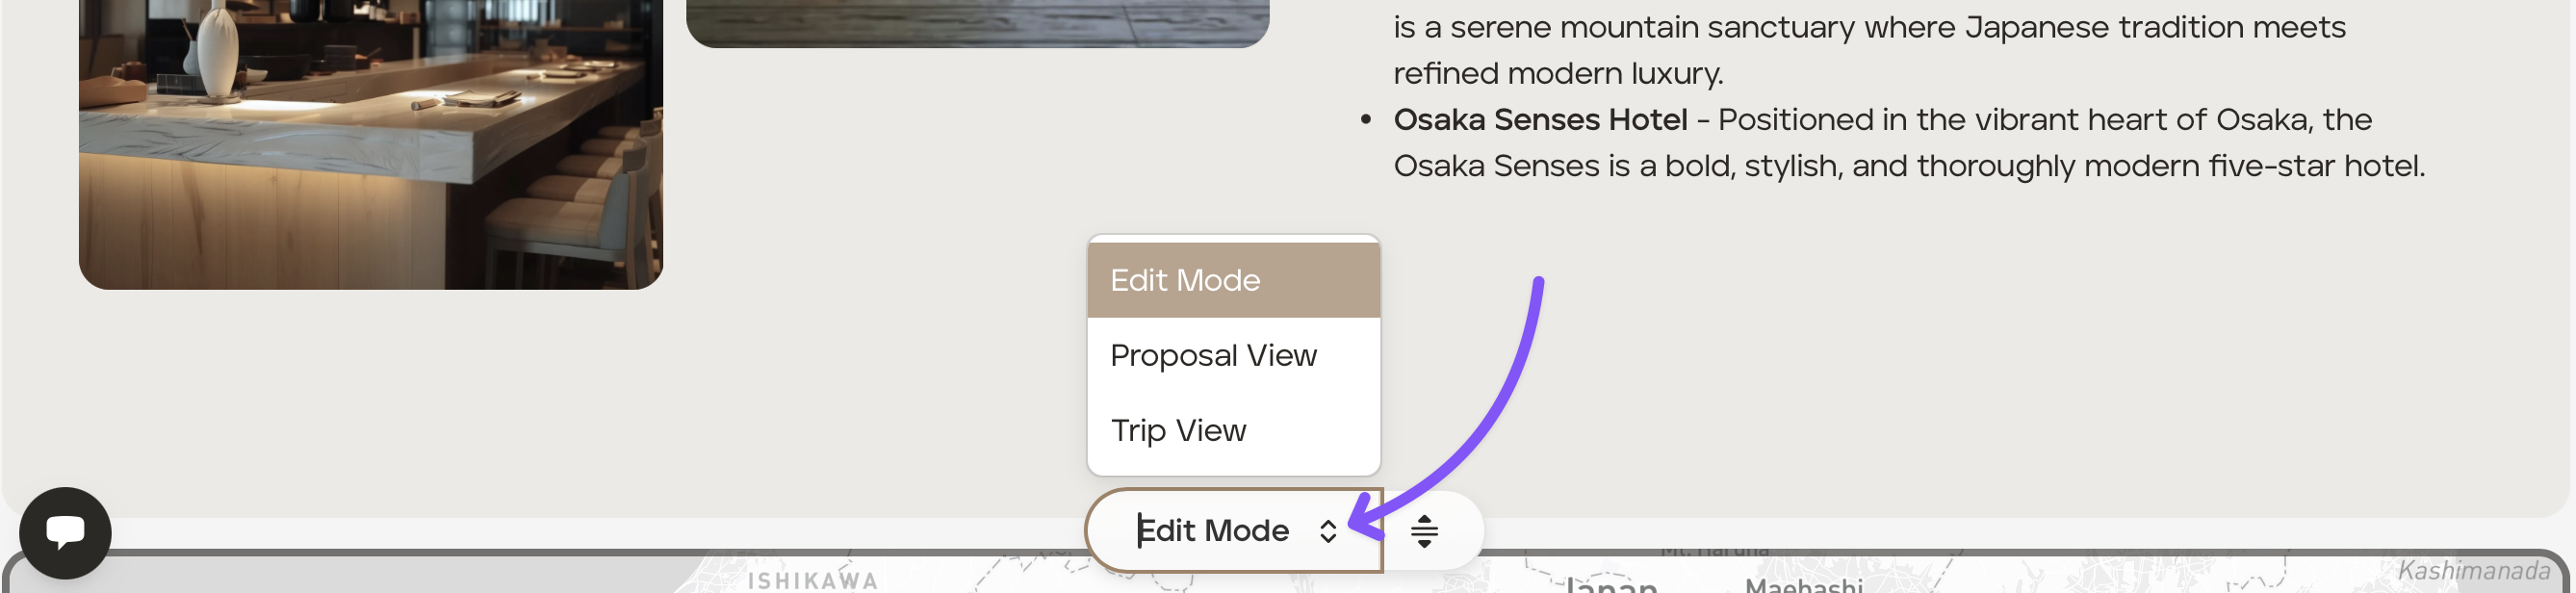
Whilst creating your overview 'travel brochure', you may have chosen different blocks to be shown to your client when a proposal and when an approved upcoming trip. You can view what your client will see by clicking the modal at the bottom of the Overview screen, which gives you the following options:
Edit Mode - Which allows you to create and edit your travel brochure.
Proposal View - Which allows you to view what your clients will see when they receive their proposal.
Trip View - Which allows you to view what your clients will see when they are invited to access their upcoming trip on the TripMapper web and mobile app.