Add team members to your account
To add your team to your account, follow the steps below:
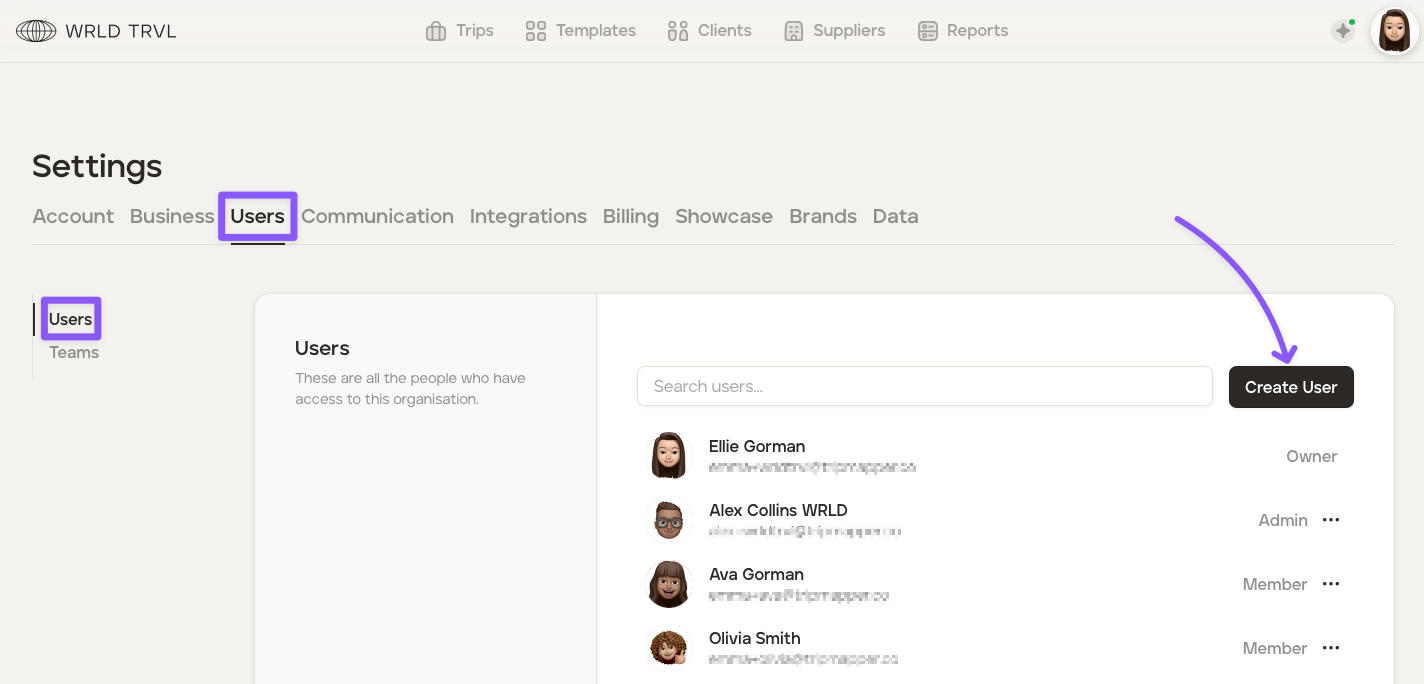
Click your avatar in the top right of your screen and then click ‘Settings.’
Click the 'Users' tab.
Click the 'Create User' button.
Add the name and email address of the team member.
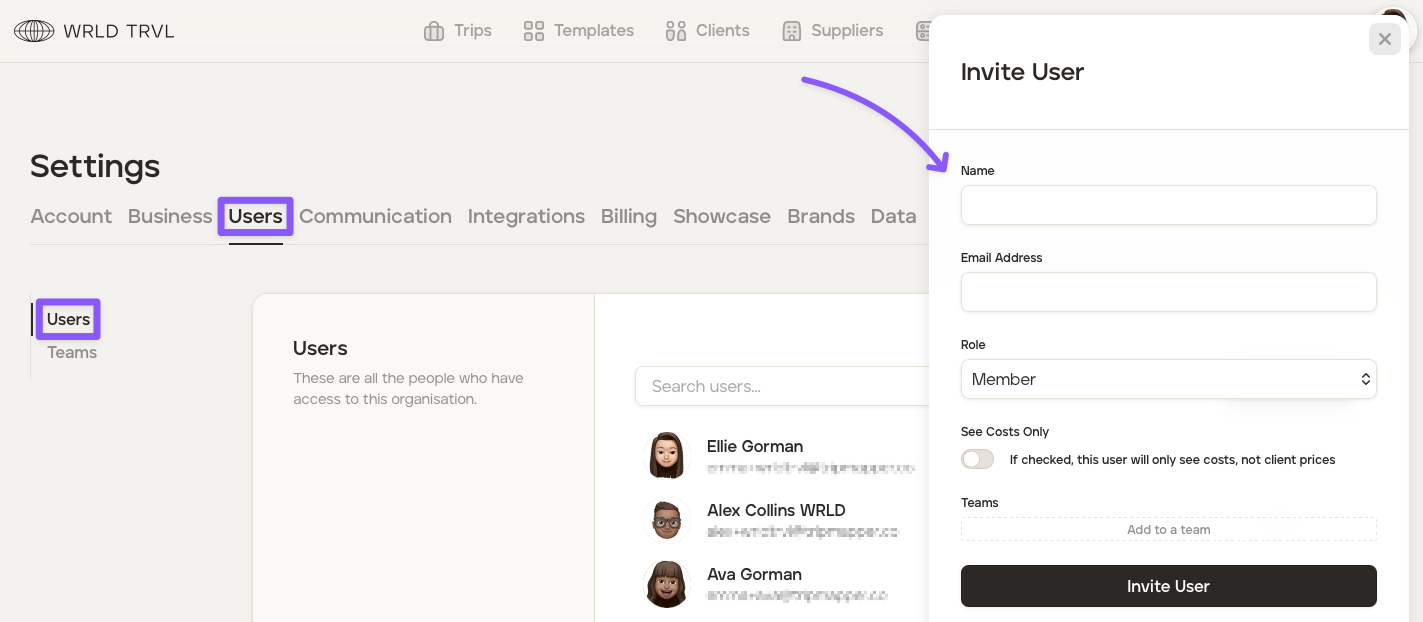
In the 'Role' field, select the new user's role —either 'Admin' or 'Member.'
If you have already created different teams, you can also add the new user to a team by clicking 'Add to a team' and select the applicable team.
🤝 'Admin'
Has access to and can edit all TripMapper account settings.
Can add, edit and delete all template itineraries, template cards and trips.
Can add team members or remove team members.
Can see 'Reports'.
Can choose whether a 'Member' can see and have access to all financial information within the platform (ie. company's costs, client prices and company mark-up and margin) or can only see the company's costs (and not the client prices and not any company mark-up/ margin).
🤝 'Member'
Has limited access to the TripMapper account settings.
Can add, edit and delete all template itineraries, template cards and trips, unless 'team' permissions have been put in place to restrict a 'Members' access to their own team only.
Cannot add or remove team members unless they are a team 'Lead'.
Cannot manage billing or cancel the subscription.
A 'Member' can be restricted by an 'Owner' or 'Admin' from seeing client prices and company mark-up/ margin.
For 'Member' invitees only, there is a switch labelled 'See Costs Only'. If you turn this switch on:
the 'Member' invitee will only see the costs the company incurs/ incurred, not the client prices; and
the 'Member' invitee will not be able to send a client proposal (as the proposal may contain a client price).
The invitee will then receive an email in which they can accept the invitation. While the invitation is pending, the new team member will show as 'Invited.'
