How do you use the launcher?
You can instantly choose your itinerary item type with a single click by using our launcher functionality. Seamless and speedy!
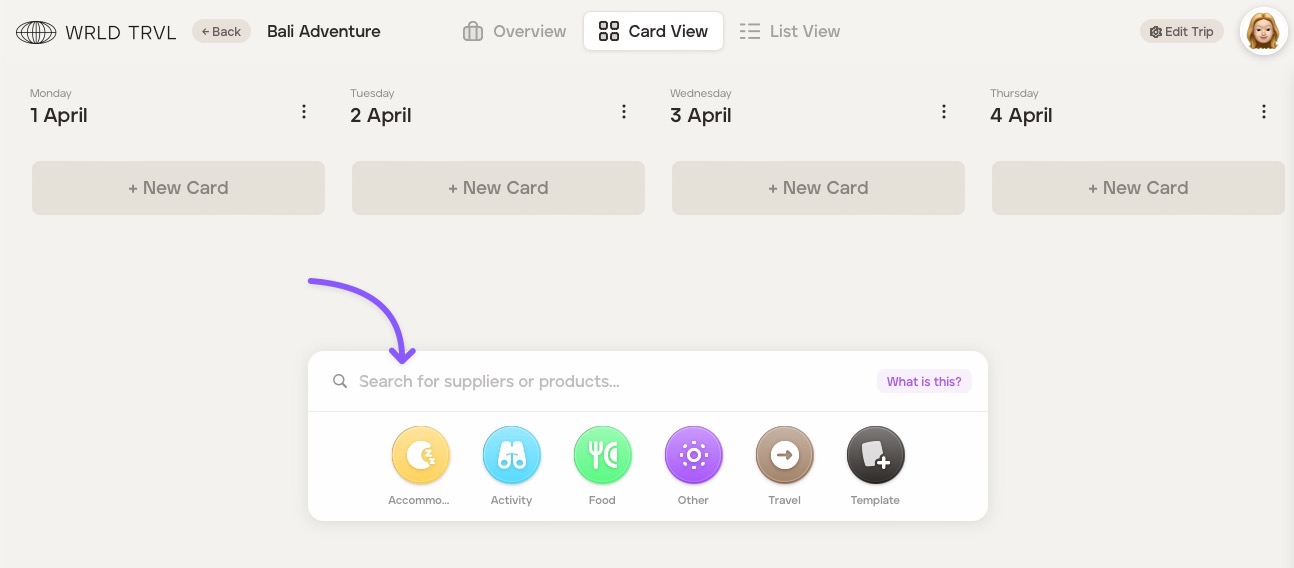
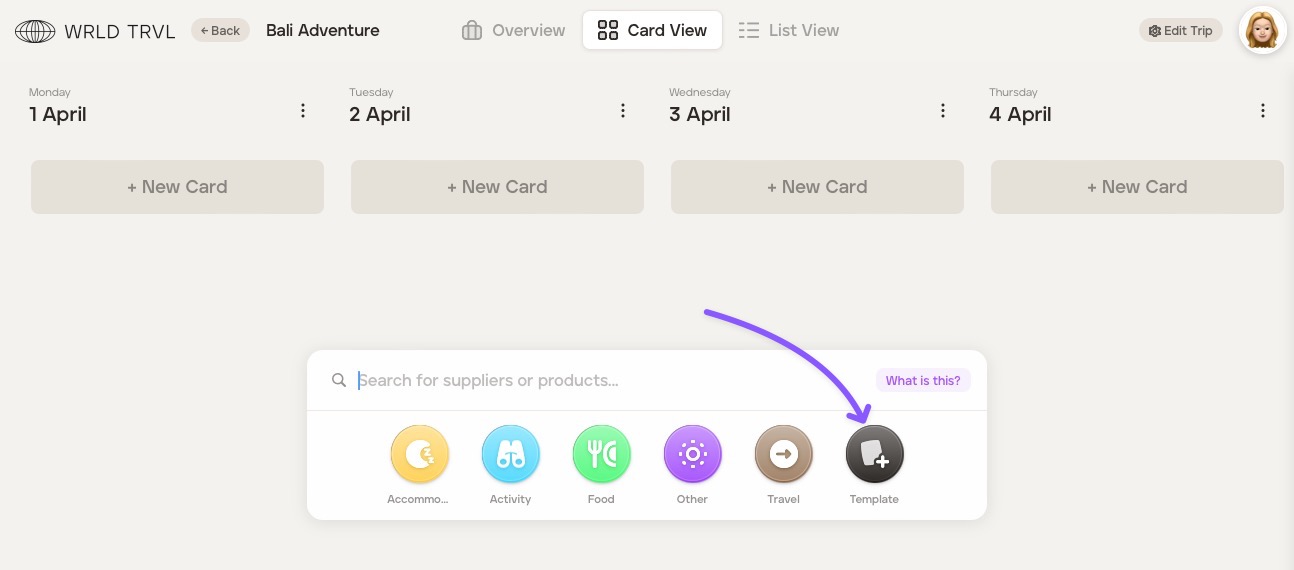
When adding a new card to an itinerary, our launcher will pop up as soon as you click ‘+New Card’.
The launcher allows you to easily and quickly:
add supplier products (from within your supplier database) to the itinerary;
add any card type ('accommodation', ''activity', 'food', 'travel' or 'other') to your itinerary; and
add template cards (from within your template card database) to the itinerary.
Below are step-by-step guides demonstrating each of the above.
1. Quickly add supplier products to your itinerary
In the search bar, search for a supplier or supplier product from within your supplier database.
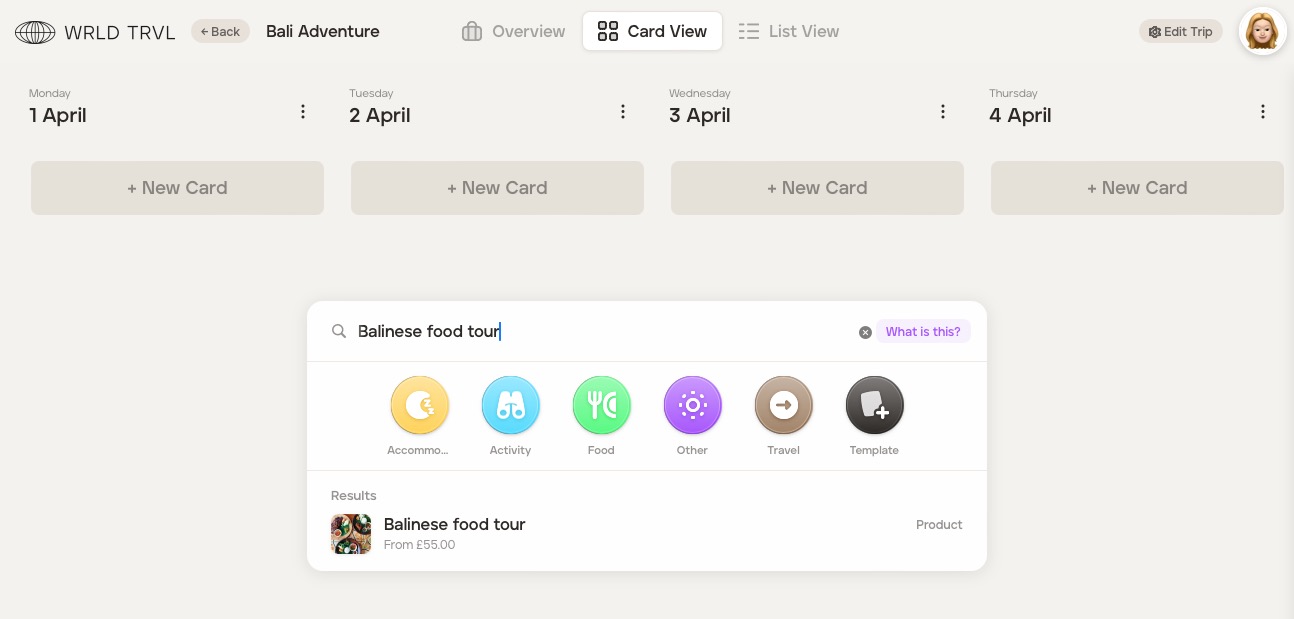
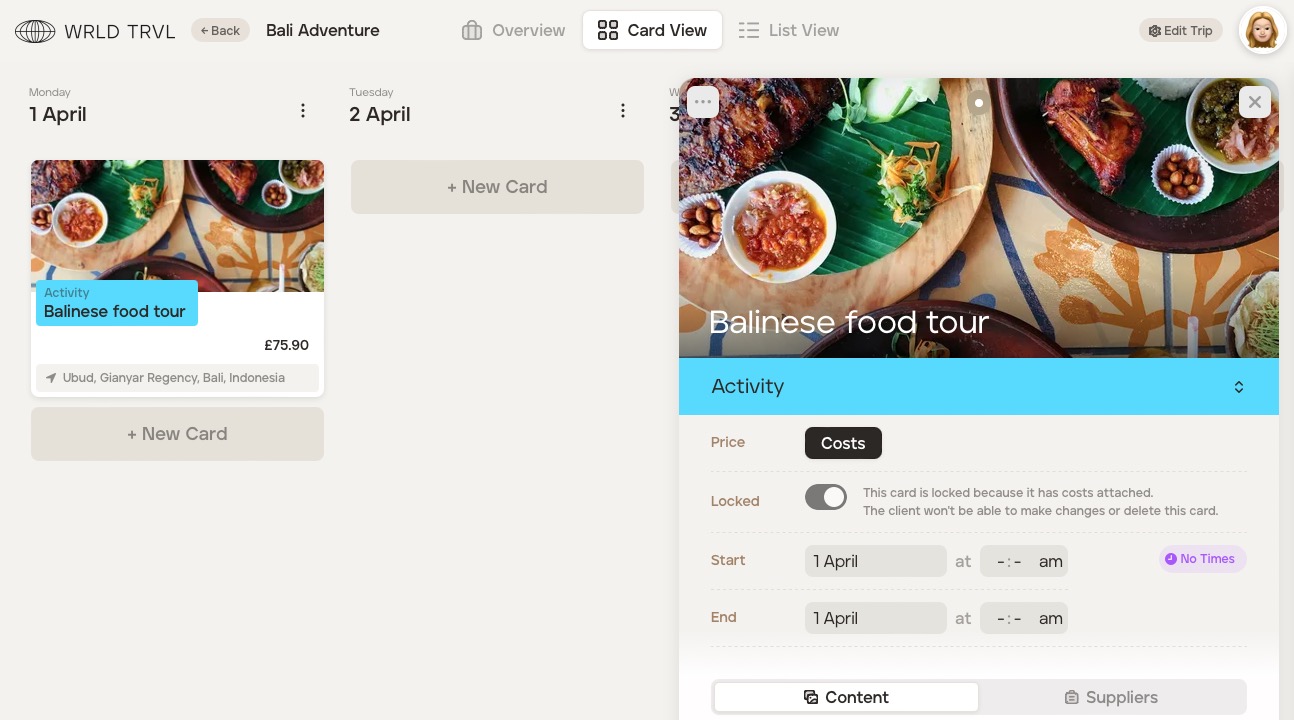
Click the applicable supplier product. Any associated prices for that supplier product will show in the results, as shown below.
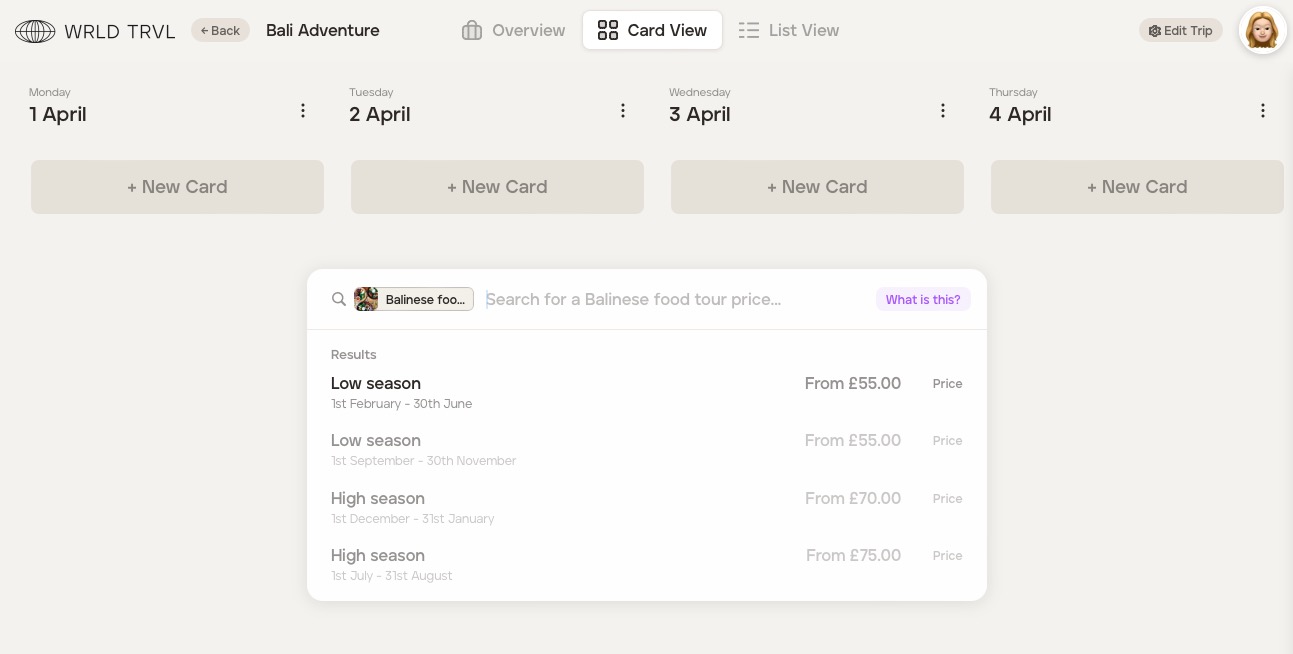
Click the relevant result, which will add the supplier product to the itinerary.
Enter further details in the card should you wish.
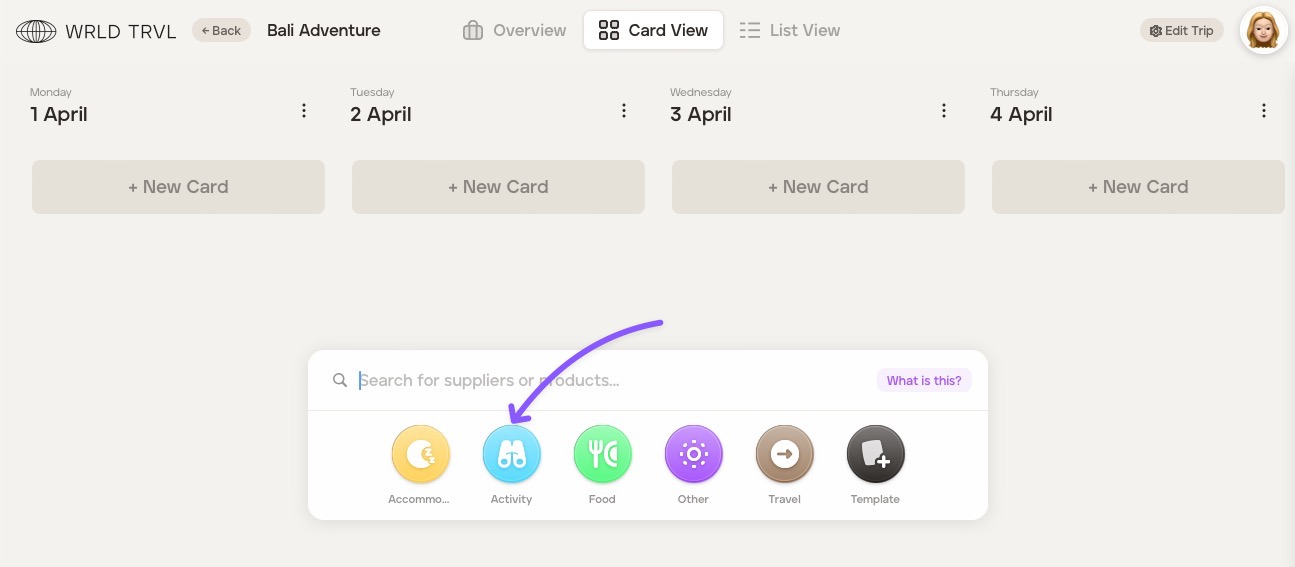
2. Quickly add any card type ('accommodation', ''activity', 'food', 'travel' or 'other') to your itinerary
Click the applicable card type icon.
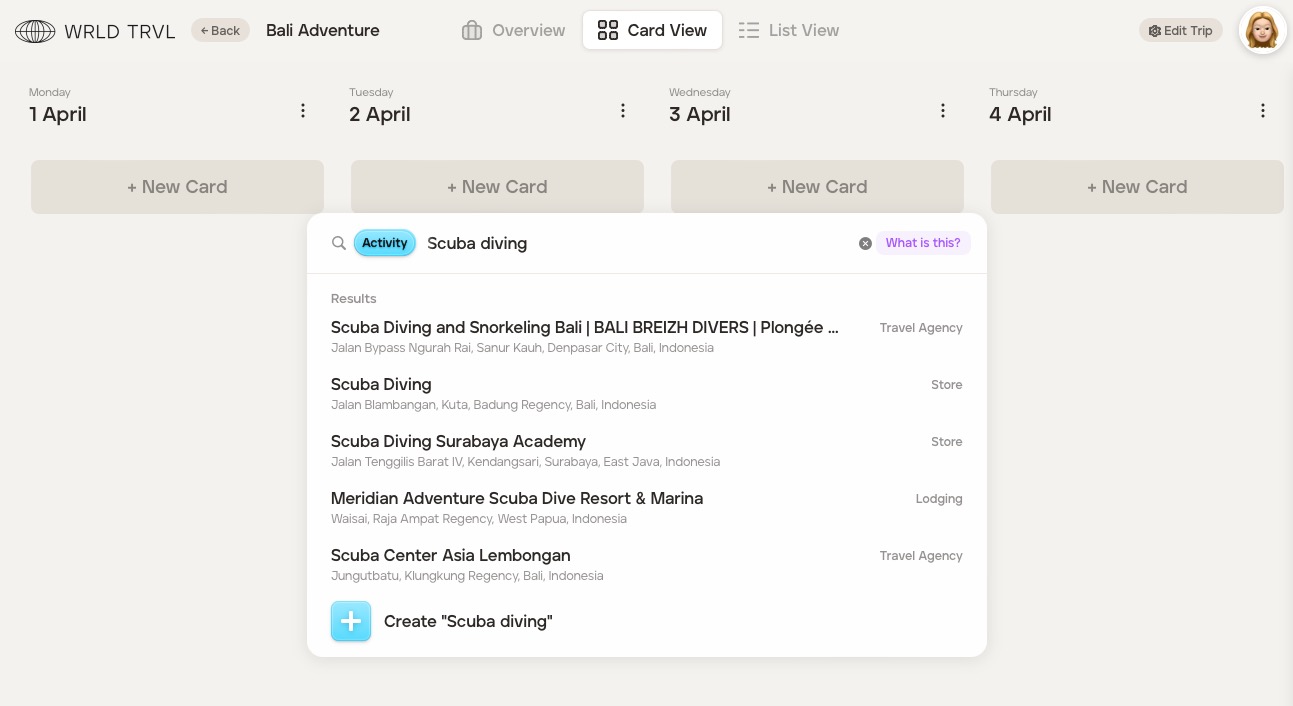
After clicking the card type icon, either search for a particular business or location, which will show a list of clickable results OR click ‘Create' to create the card.
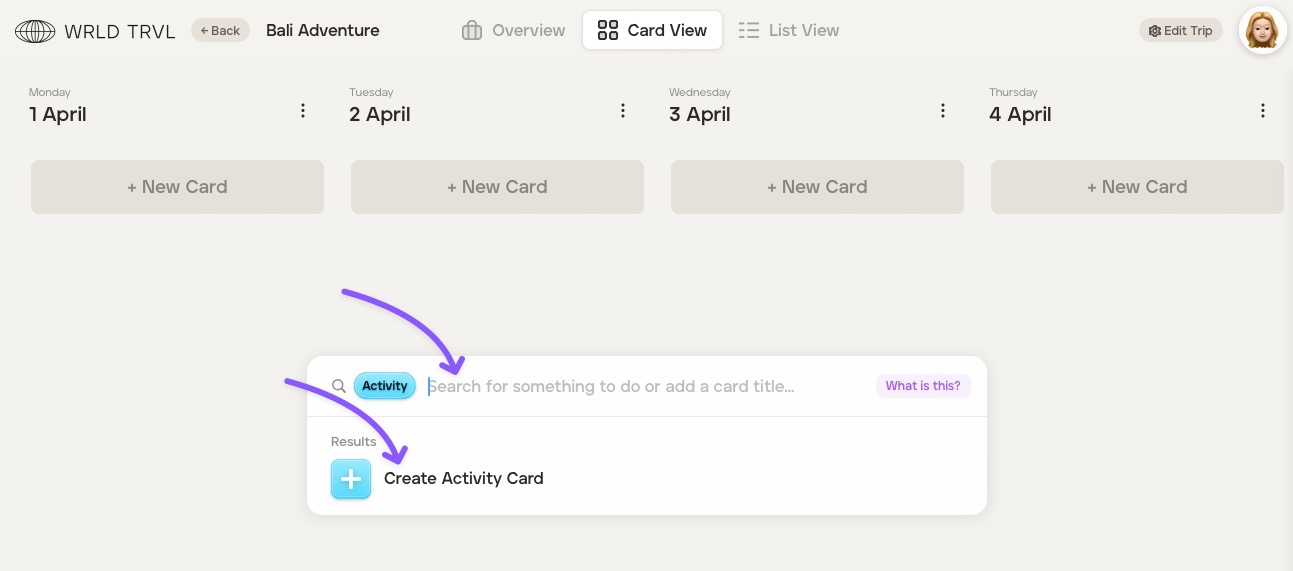
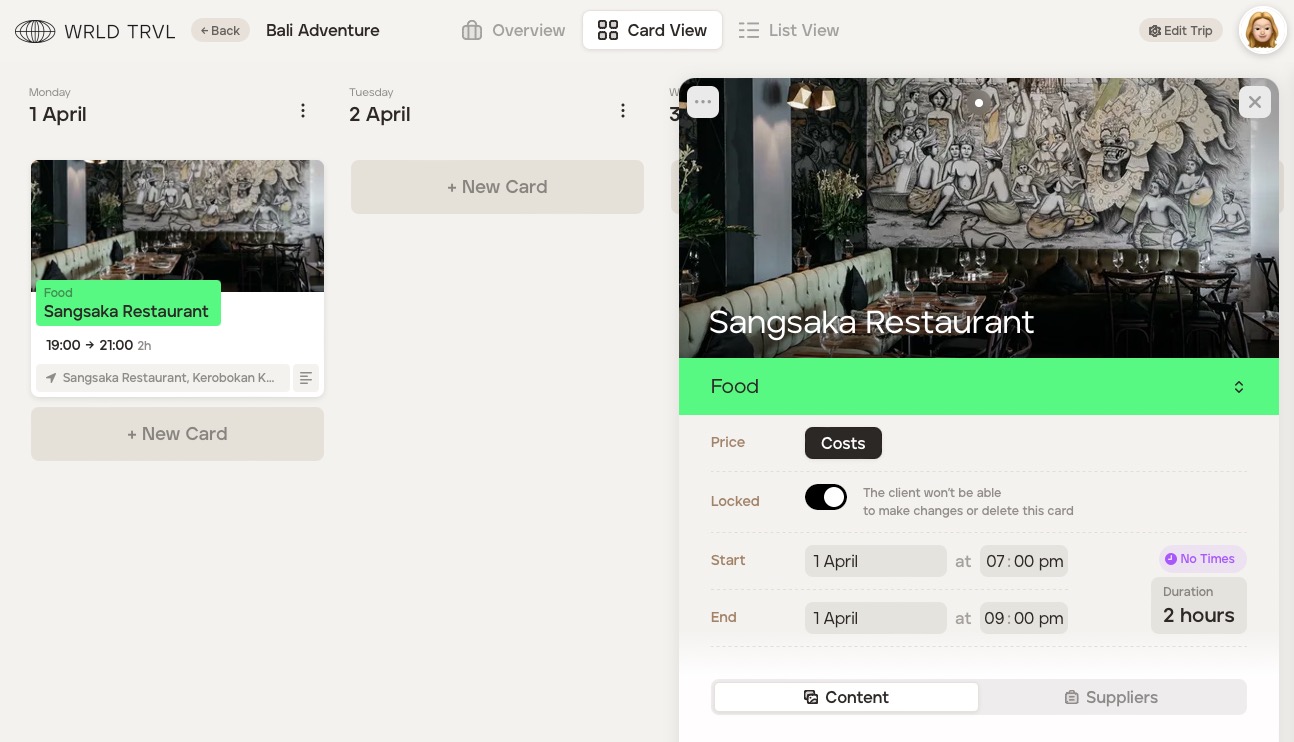
The card will open and be added to the itinerary. Add further details should you wish (for example, times, cover image, notes, etc.).

3. Quickly add a template card or template group from your template database to your itinerary
Click the ‘Template’ icon to search your template card database.
In the search bar, type the template card or template group you wish to add to the itinerary.
Click the result.
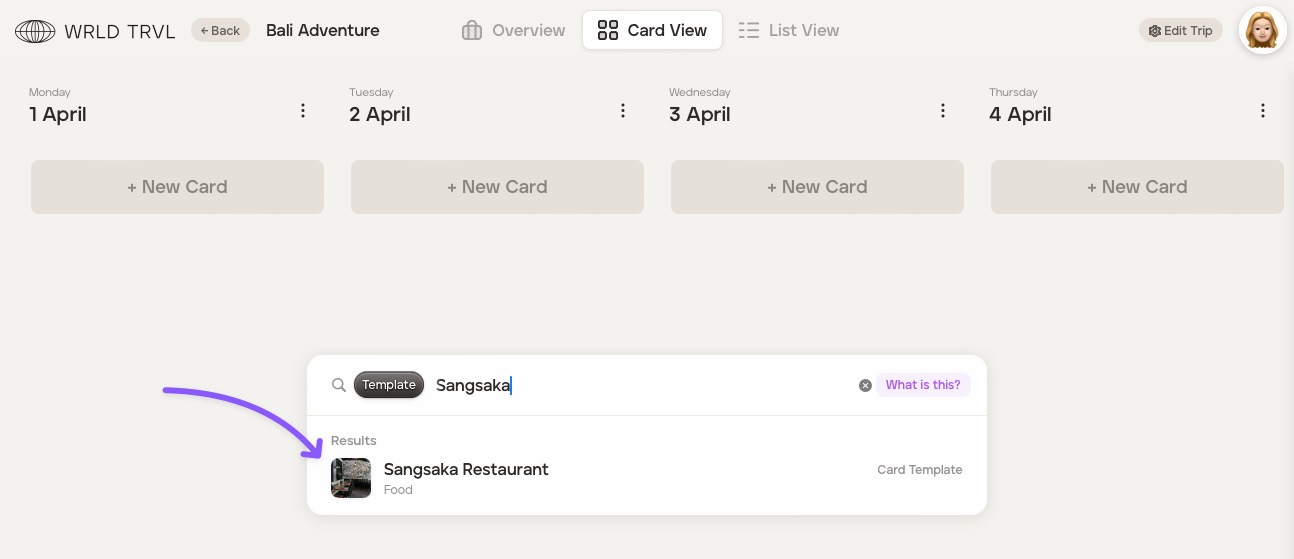
The card will open and be added to the itinerary.