New Client synced to Mailchimp as a new Subscriber
In this Zap, we take the New Client TripMapper event and pass the resulting data through a Text Formatter step before pushing it to Mailchimp via the Add/Update Subscriber action.
The Trigger
Let's get started by creating a new Zap and selecting TripMapper as your Trigger app.
If it's not already connected, make sure your TripMapper account is linked to your Zapier account for use in your Zaps.
Once you've selected TripMapper, pick New Client from the dropdown labelled Event.
Click Continue through the next two screens until you get to the Test tab. Here you can fetch 3 of the latest records and use them to make sure the data you see is what you expect.
The Formatter
In TripMapper, we store full names and preferred names as single inputs. So, in order for this to work with MailChimp's requirement of 'First Name' and 'Last Name', we need to format our name value.
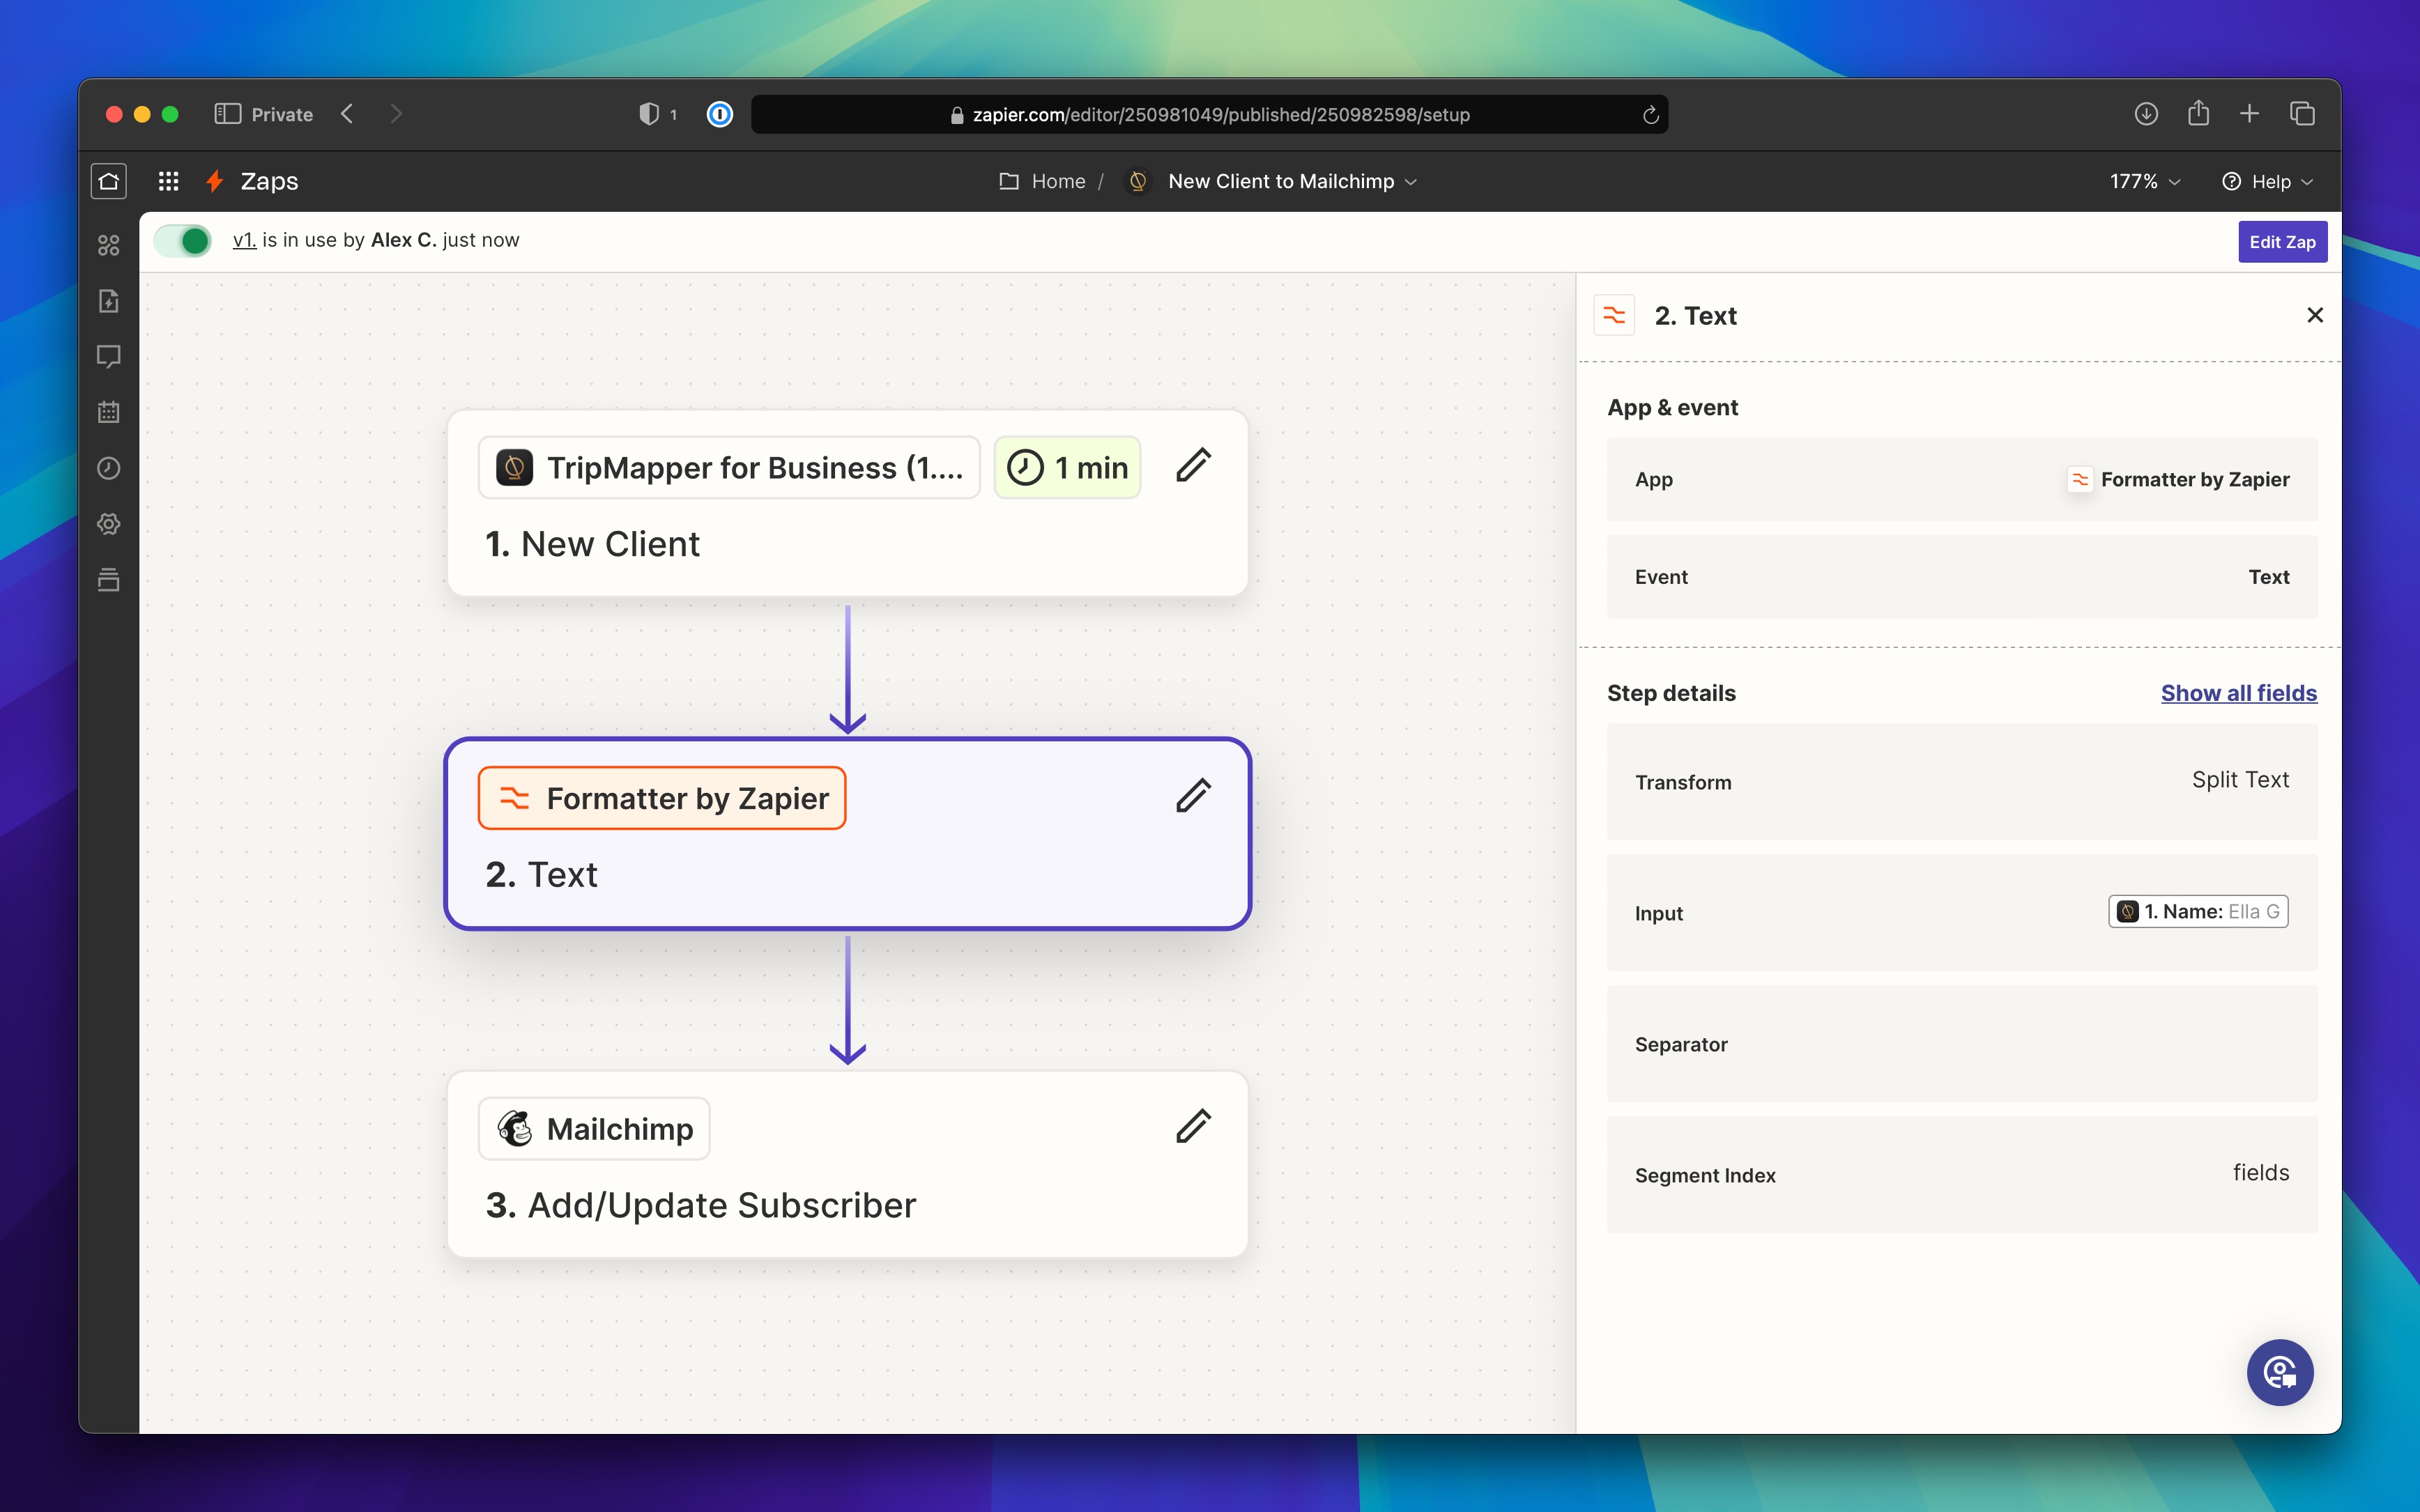
Follow these steps to create your formatted text:
Add a step and search for
FormatterOnce added, in the
Eventdropdown, selectTextClick Continue
In the
Transformfield, selectSplit TextIn the resulting
Inputfield, select theNamevalue grabbed in the previous step.Scroll down, and in the
Segment Indexfield, selectAll (as Separate Fields)Click Continue
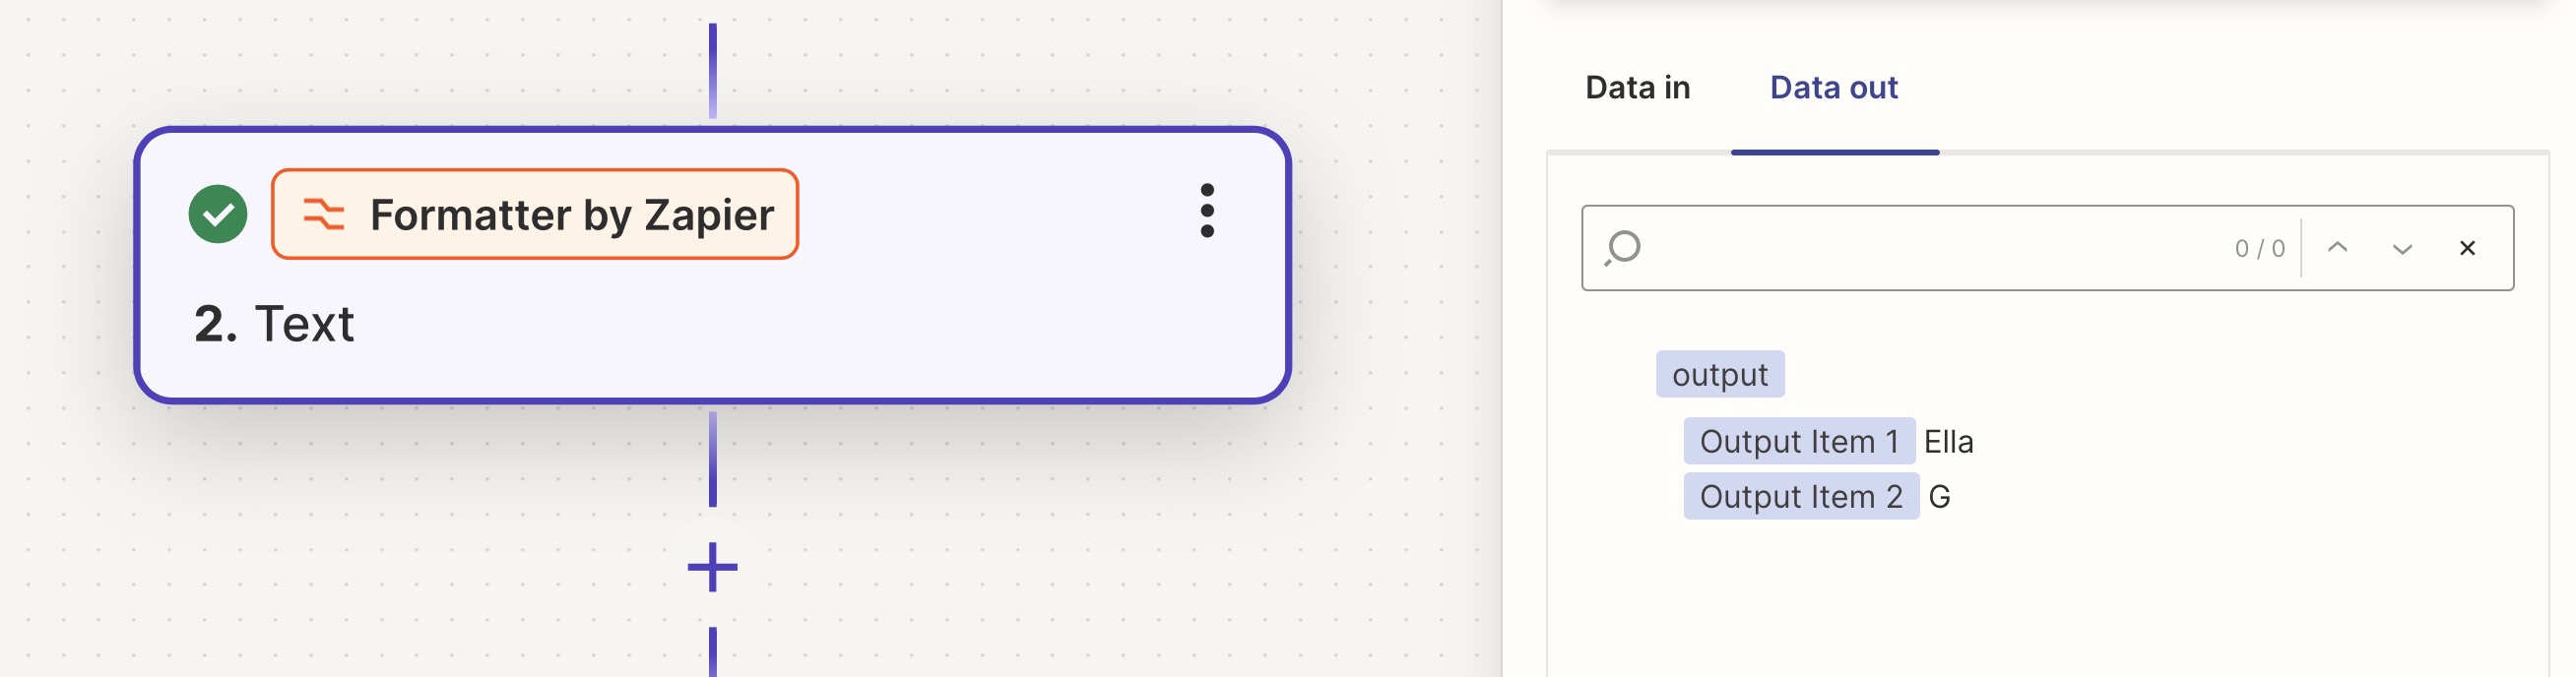
You should end up with something like the below screenshot, where the name is split into two Oputput Items for use in future actions.
The Action
The final part of this Zap is to sync the data you've collected to Mailchimp. To get started:
Click to add a step and select
Mailchimpfrom the app listOnce added, pick the
Add/Update Subscriberoption from theEventsdropdownClick Continue
Connect your Mailchimp account if you haven't already done so
Click Continue
On the
Actiontab, select your Audience, and then work your way down the form, mapping any fields that are important to sync.When you get to the First Name field, you will be able to access the formatted values from the formatting step completed previously.
Once you've assigned the values you want to sync, click Continue.
Finally, test the step to make sure you are able to successfully submit data to Mailchimp.
If the step is successful, you can click the Publish button to set your Zap live.
To check everything is working correctly, head to TripMapper and create a new client, ensuring you add an email address to the record before you create it.