Client user guide
The below user guide will help your clients navigate through the TripMapper web and mobile app and access all the information they need for their trip.
Please feel free to copy and paste the content or provide your clients with our PDF user guide focusing on the app's key functionalities.
Downloading the TripMapper App
Open the email you've received from your travel adviser and tap on the “Accept Invite” button.

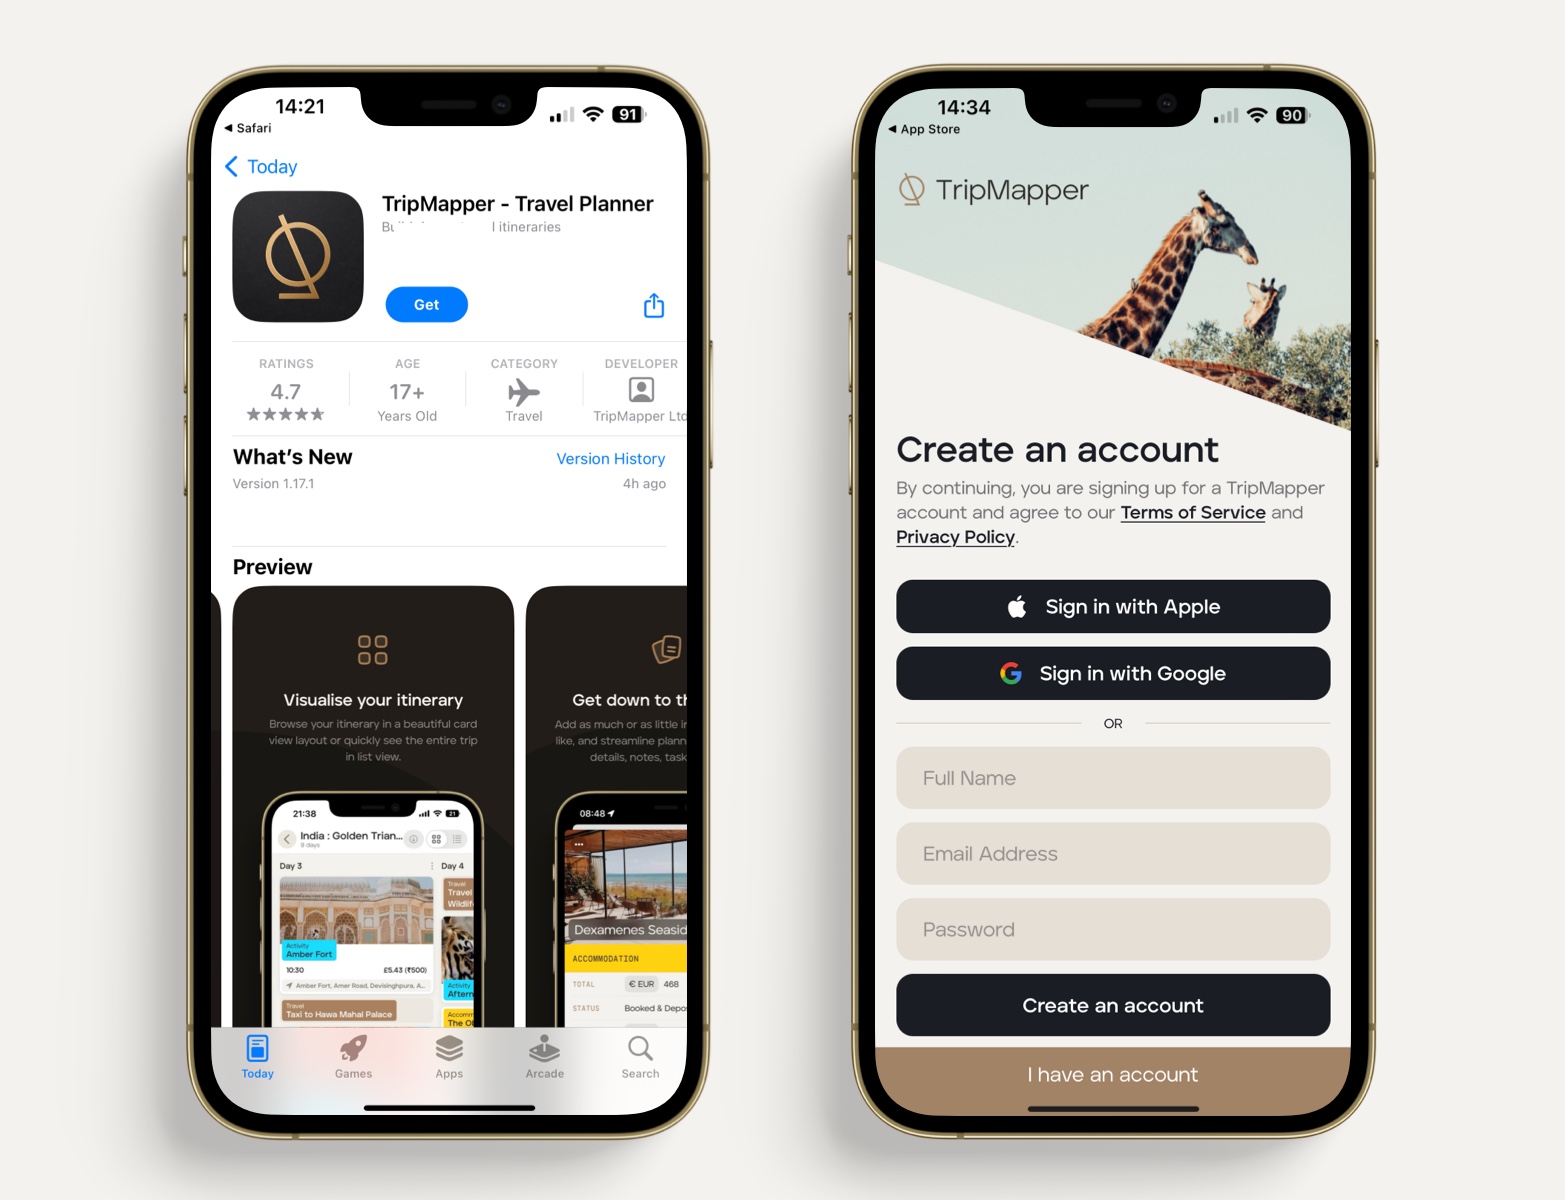
📱 If you tap on the “Accept Invite” button on your mobile phone, you'll be taken to the Apple App Store or Google Play Store. Download the free TripMapper app and then create a free TripMapper account (register with the email address that you were invited with) or sign in to your existing TripMapper account (the email address you were invited with must match the email address linked to your existing TripMapper account).
OR
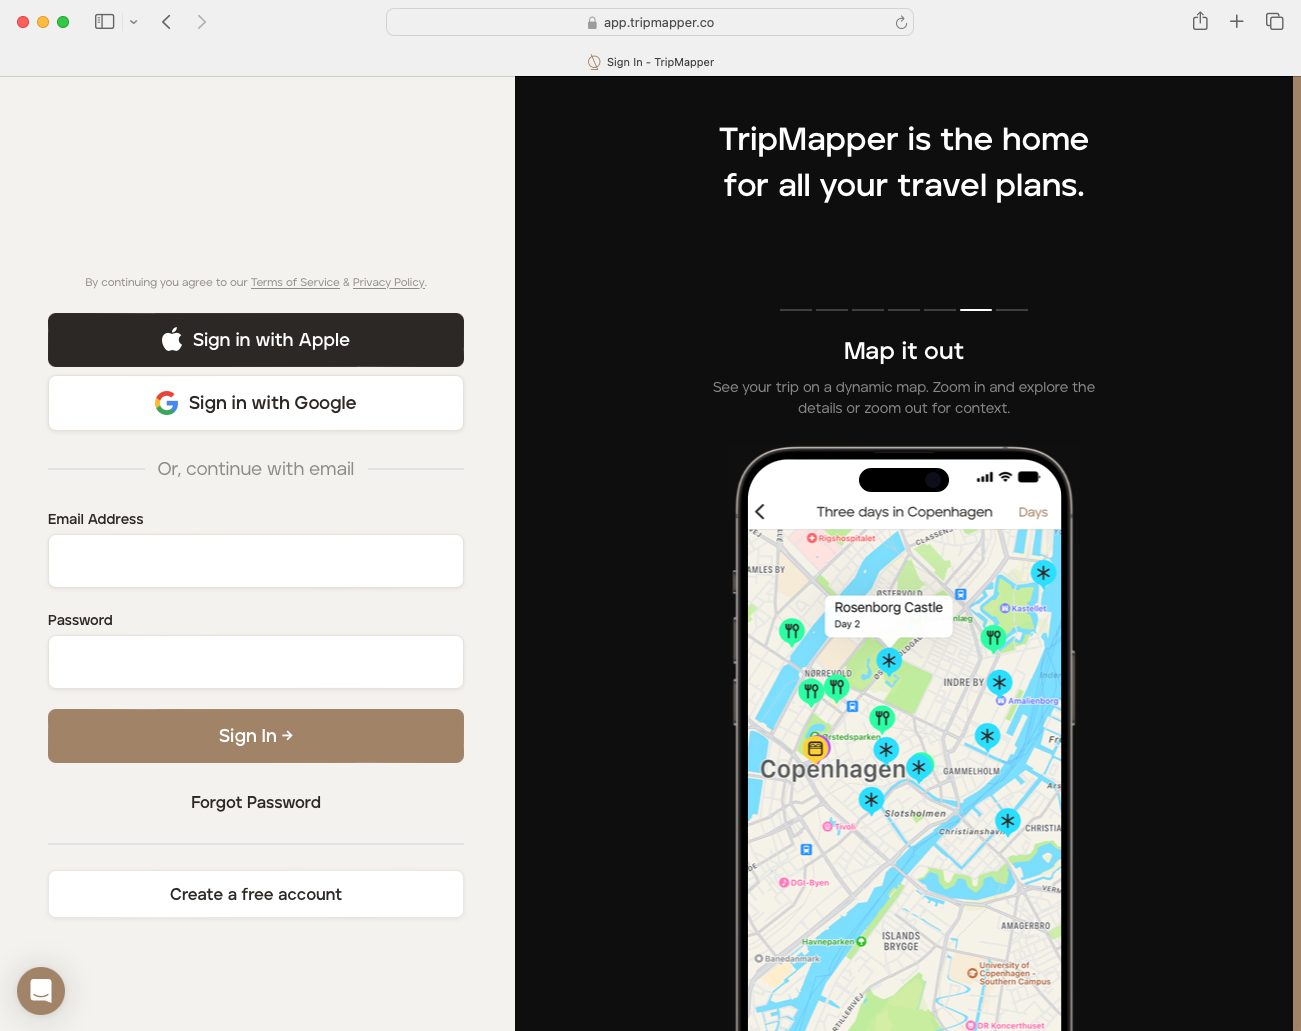
🖥️ 💻 If you click on the "Accept Invite" button on your desktop or laptop, you'll be taken to the TripMapper site, where you can create a free TripMapper account (register with the email address that you were invited with) or sign in to your existing TripMapper account (the email address you were invited with must match the email address linked to your existing TripMapper account).
Get started with the TripMapper app
Mobile app
Once you have signed in to your TripMapper account, you will be taken to your travel adviser's area of the platform.
Tap your trip to view the itinerary, access any reservation documents/tickets and view the map.

You will be taken directly to your itinerary. There are three ways to view your itinerary:
Card View (default) - a Kanban-style layout. Swipe across your screen to see each day.
List View - a traditional 'top-to-bottom' layout with expand and collapse functionality.
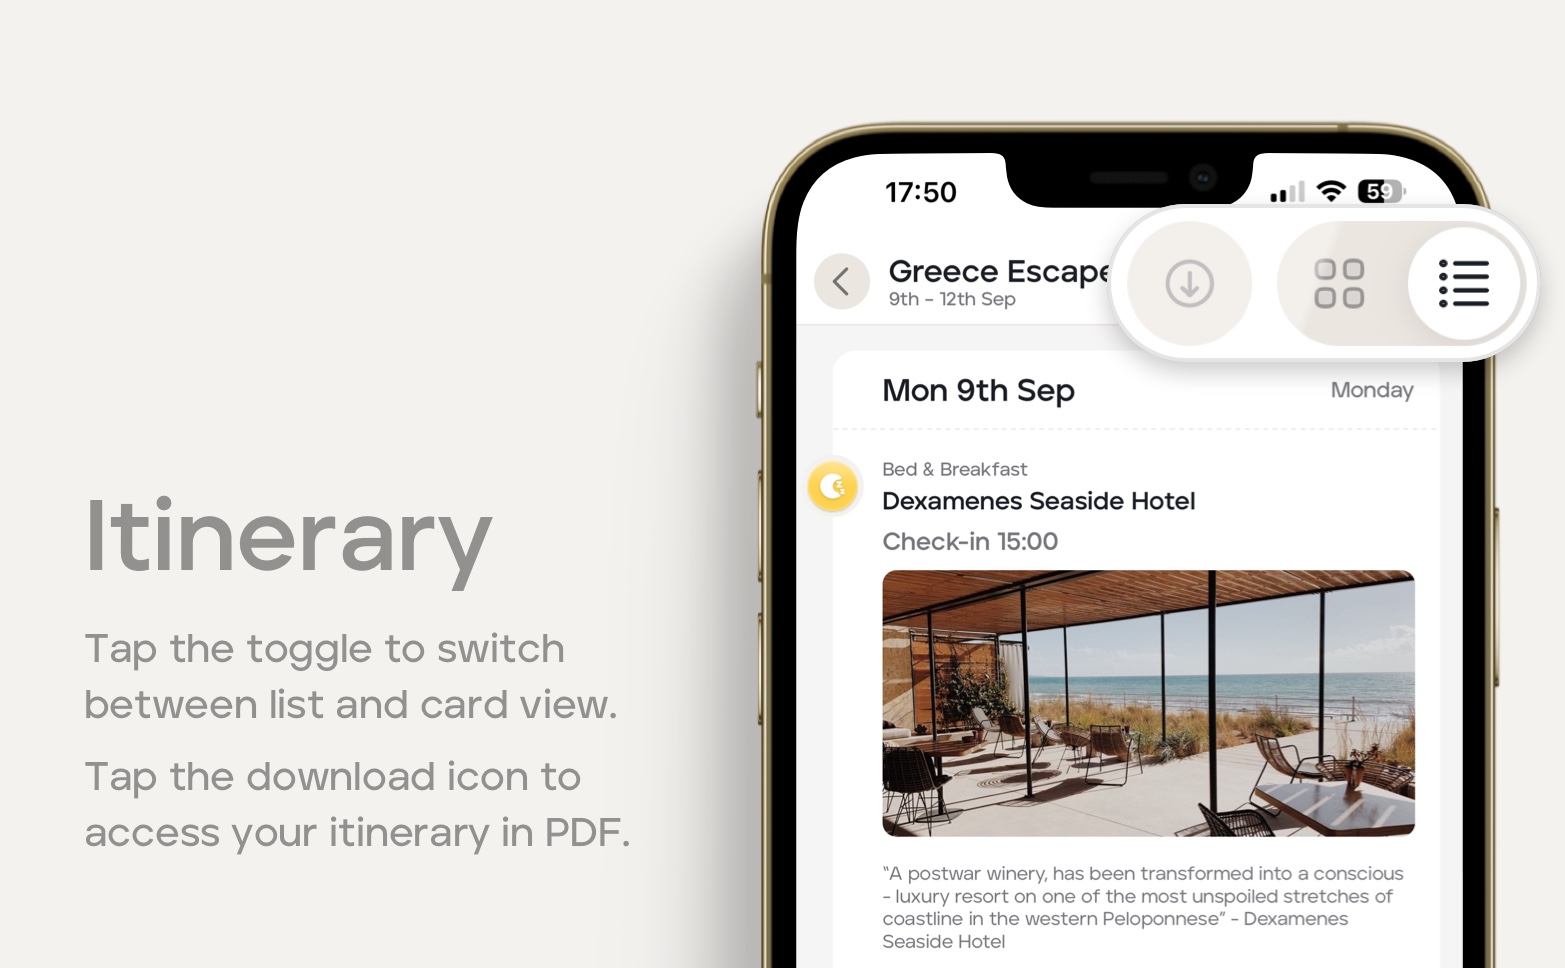
Tap the toggle in the top right-hand corner to switch between List View and Card View. In both views, you can tap each itinerary item for more information about that item and access any attachments/files (e.g., booking confirmations or tickets) your travel adviser may have added.
Itinerary in PDF
Tap the download icon button to download your itinerary in PDF.
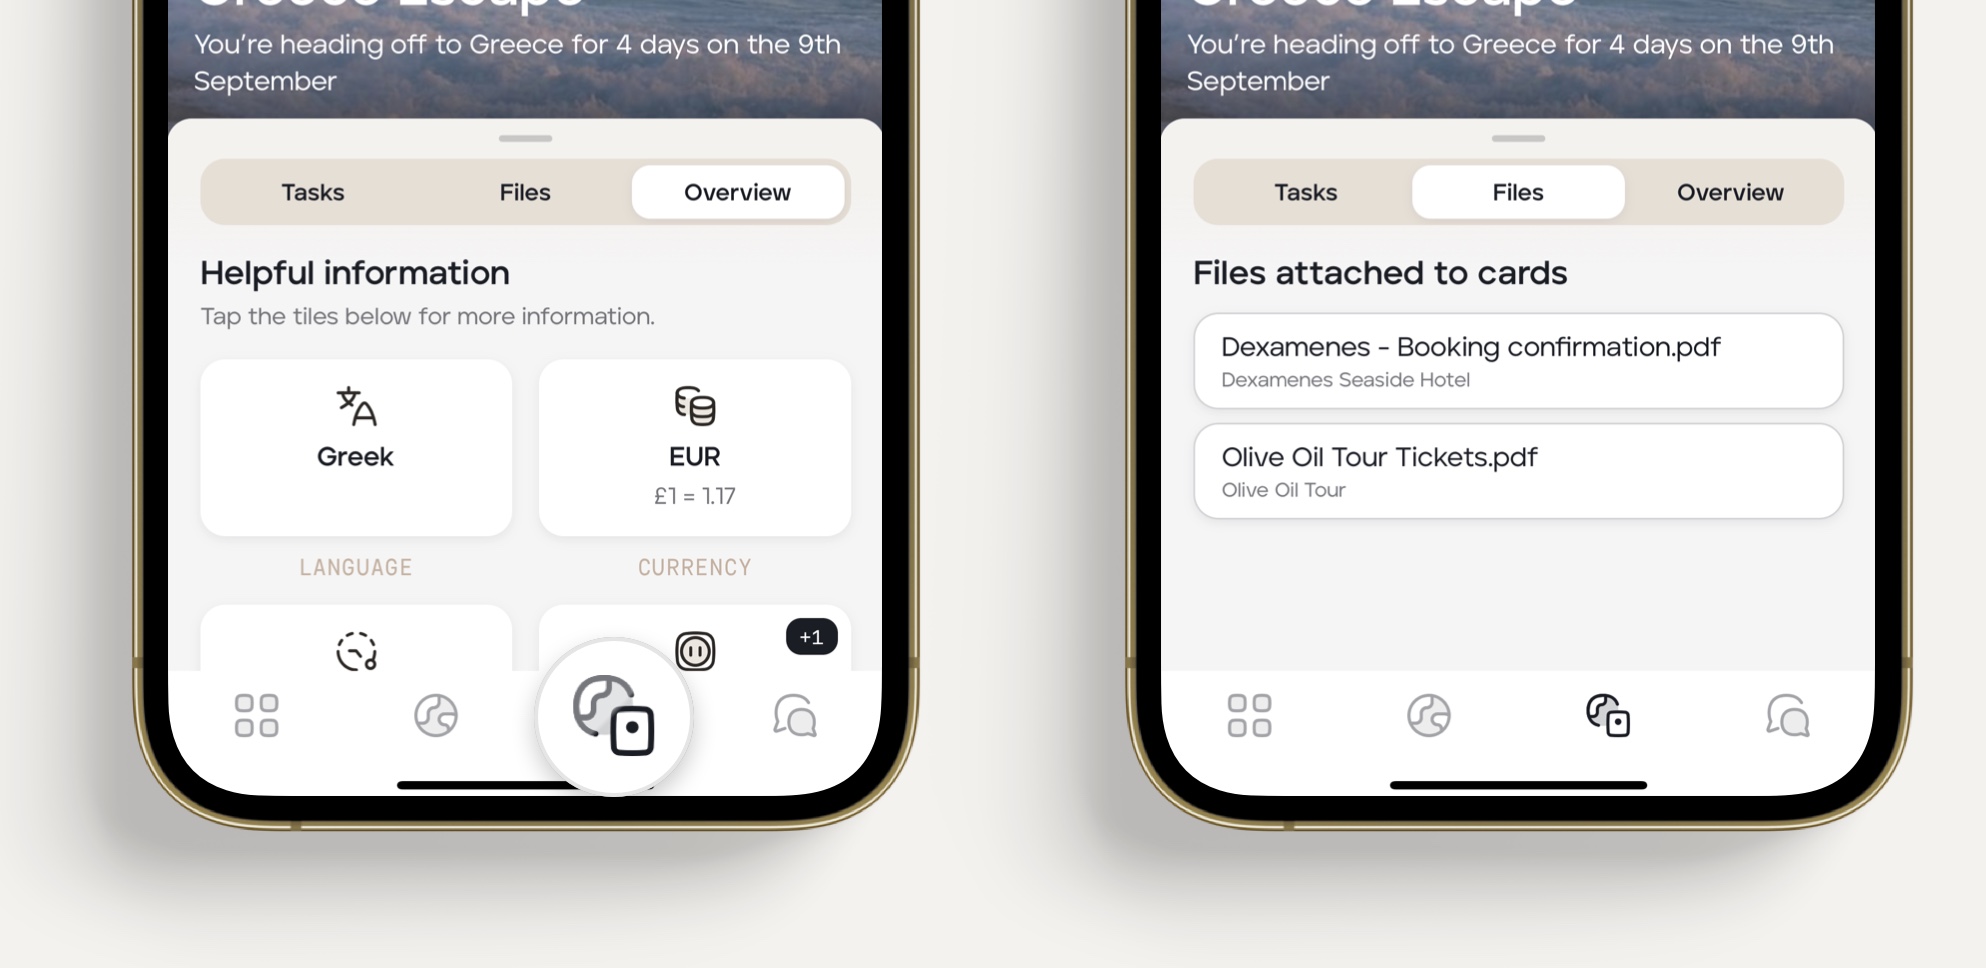
Tap the overview icon in the tab bar to see helpful information about your destination(s), access any files/attachments (e.g., booking confirmations or tickets) and view any tasks your travel advisor may have added for you.
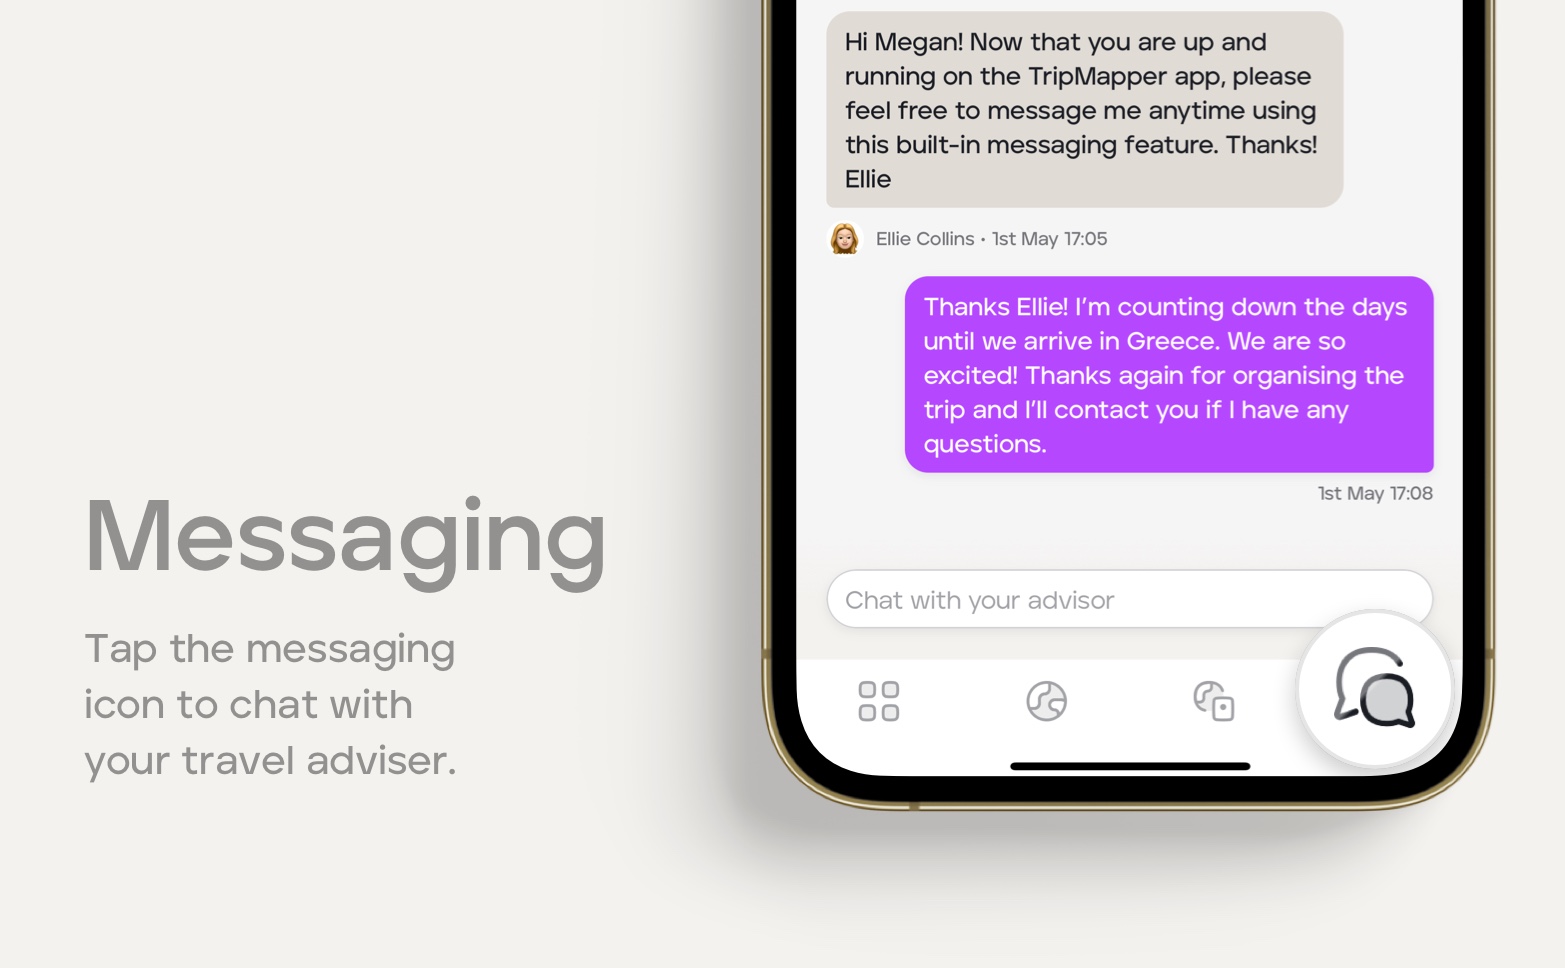
To stay in touch with your travel adviser tap the messaging icon, type your message and send!
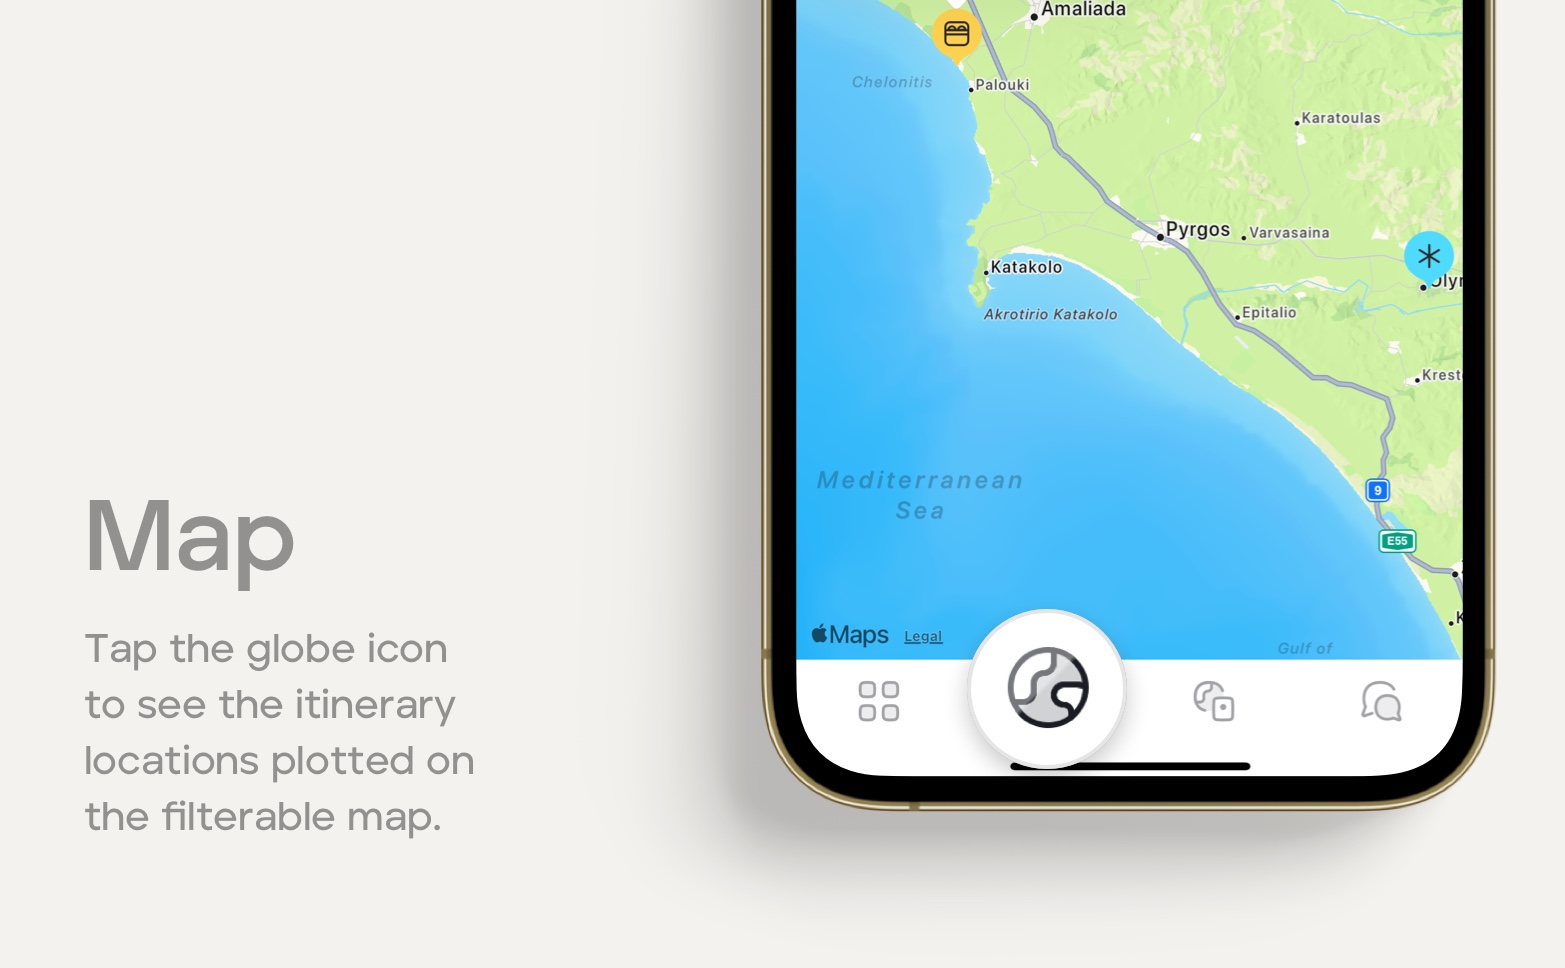
To view your itinerary locations, tap the globe icon. To filter the locations by day, tap the cog icon in the top right-hand corner of your screen and select the days you wish to view.
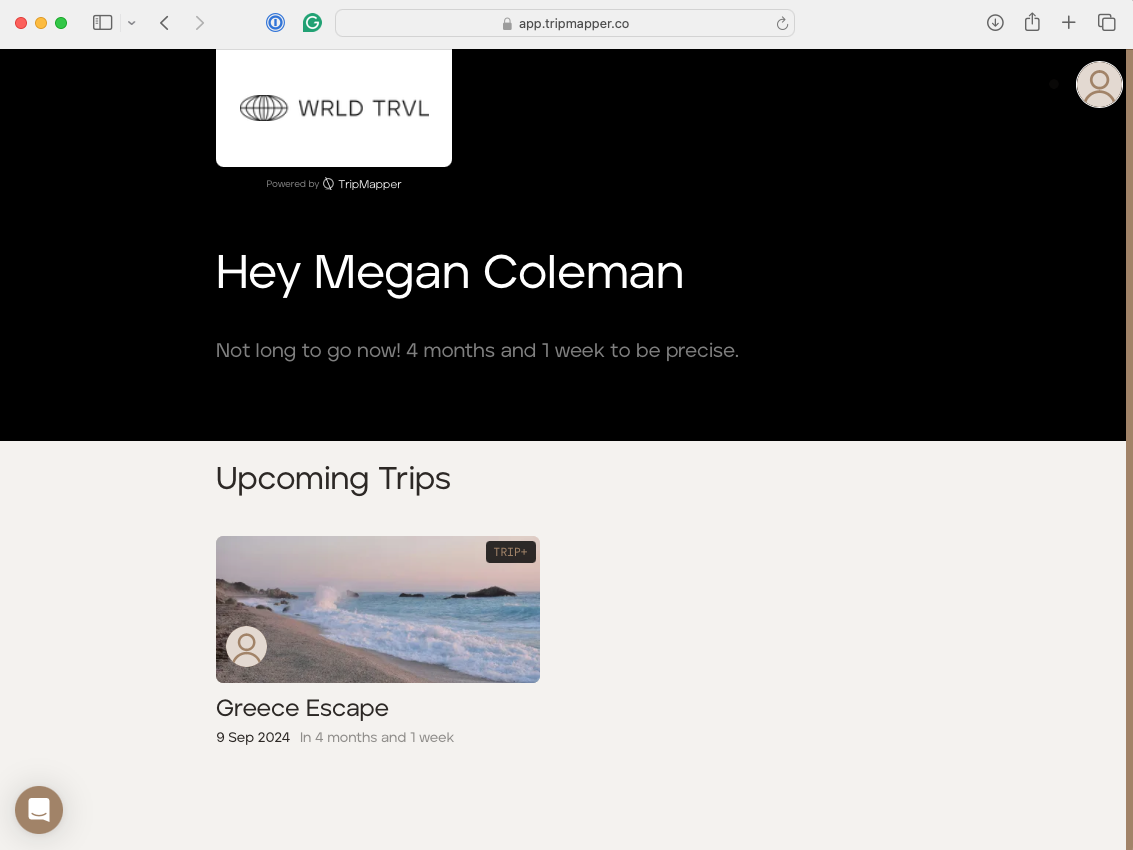
Web app
Once you have signed in to your TripMapper account, you will be taken to your travel adviser's area of the platform. Click your trip to view the itinerary, access any reservation documents/tickets and view the map.
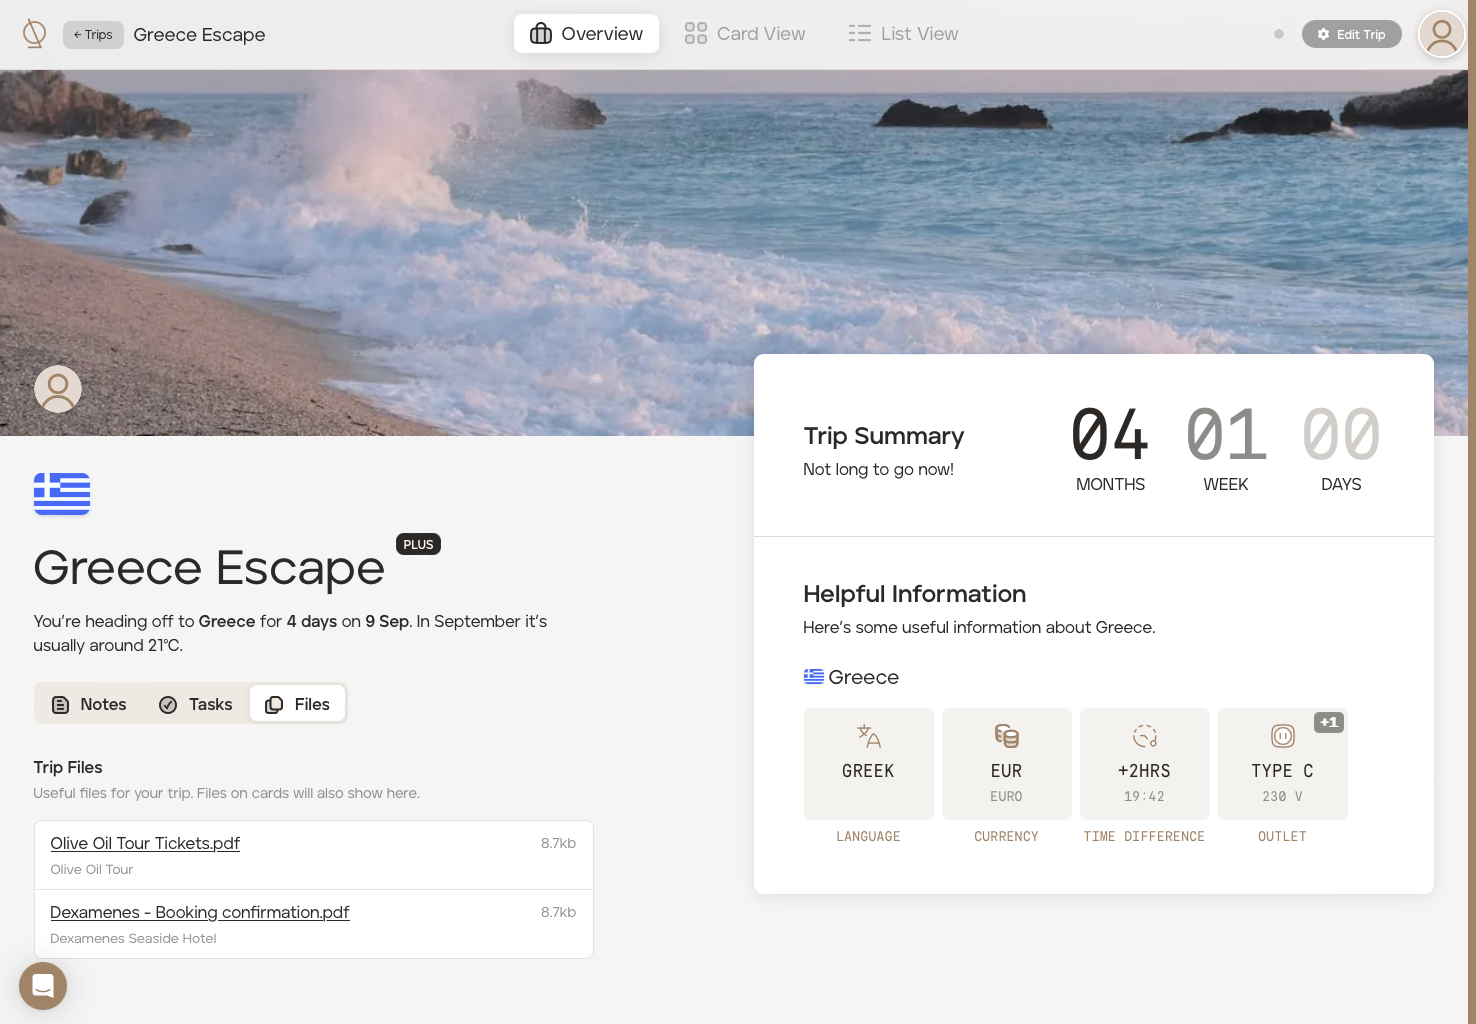
You will then be taken to the trip "Overview" screen where you'll find:
trip notes
any attachments/files your travel adviser has added
view any tasks your travel adviser has set
your trip countdown
helpful destination information
There are three ways to view your itinerary:
Card View
Click "Card View" at the top of your screen to view your itinerary in a Kanban-style layout. Click the map icon in the bottom right of the screen to open the filterable map.
List View
Click "List View" at the top of your screen to view your itinerary in a traditional 'top-to-bottom' layout with expand and collapse functionality and an accompanying map.
In both List View and Card View, you can click each itinerary item for more information about that item and access any attachments/files (e.g., booking confirmations or tickets) your travel adviser may have added.
Download PDF itinerary
In "List View," click the "Download Itinerary" button to download your itinerary in PDF format.
Need any help?
Please contact your travel adviser directly if you have any questions about your itinerary. Otherwise, if you have any questions about the TripMapper web or mobile app, please contact TripMapper directly using the Intercom widget at the bottom left of your screen or by reviewing our comprehensive help article library.