Sync your brands to Airtable
In this simple example, we're syncing a New Brand created in TripMapper with a base in Airtable. This could be useful if you want to give users who aren't accessing TripMapper visibility of the brands being used.

The Trigger
Let's get started by creating a new Zap and selecting TripMapper as your Trigger app.
If it's not already connected, make sure your TripMapper account is linked to your Zapier account for use in your Zaps.
Once you've selected TripMapper, pick New Brand from the dropdown labelled Event.
Click Continue through the next two screens until you get to the Test tab. Here you can fetch 3 of the latest records and use them to make sure the data you see is what you expect.
Set up Airtable
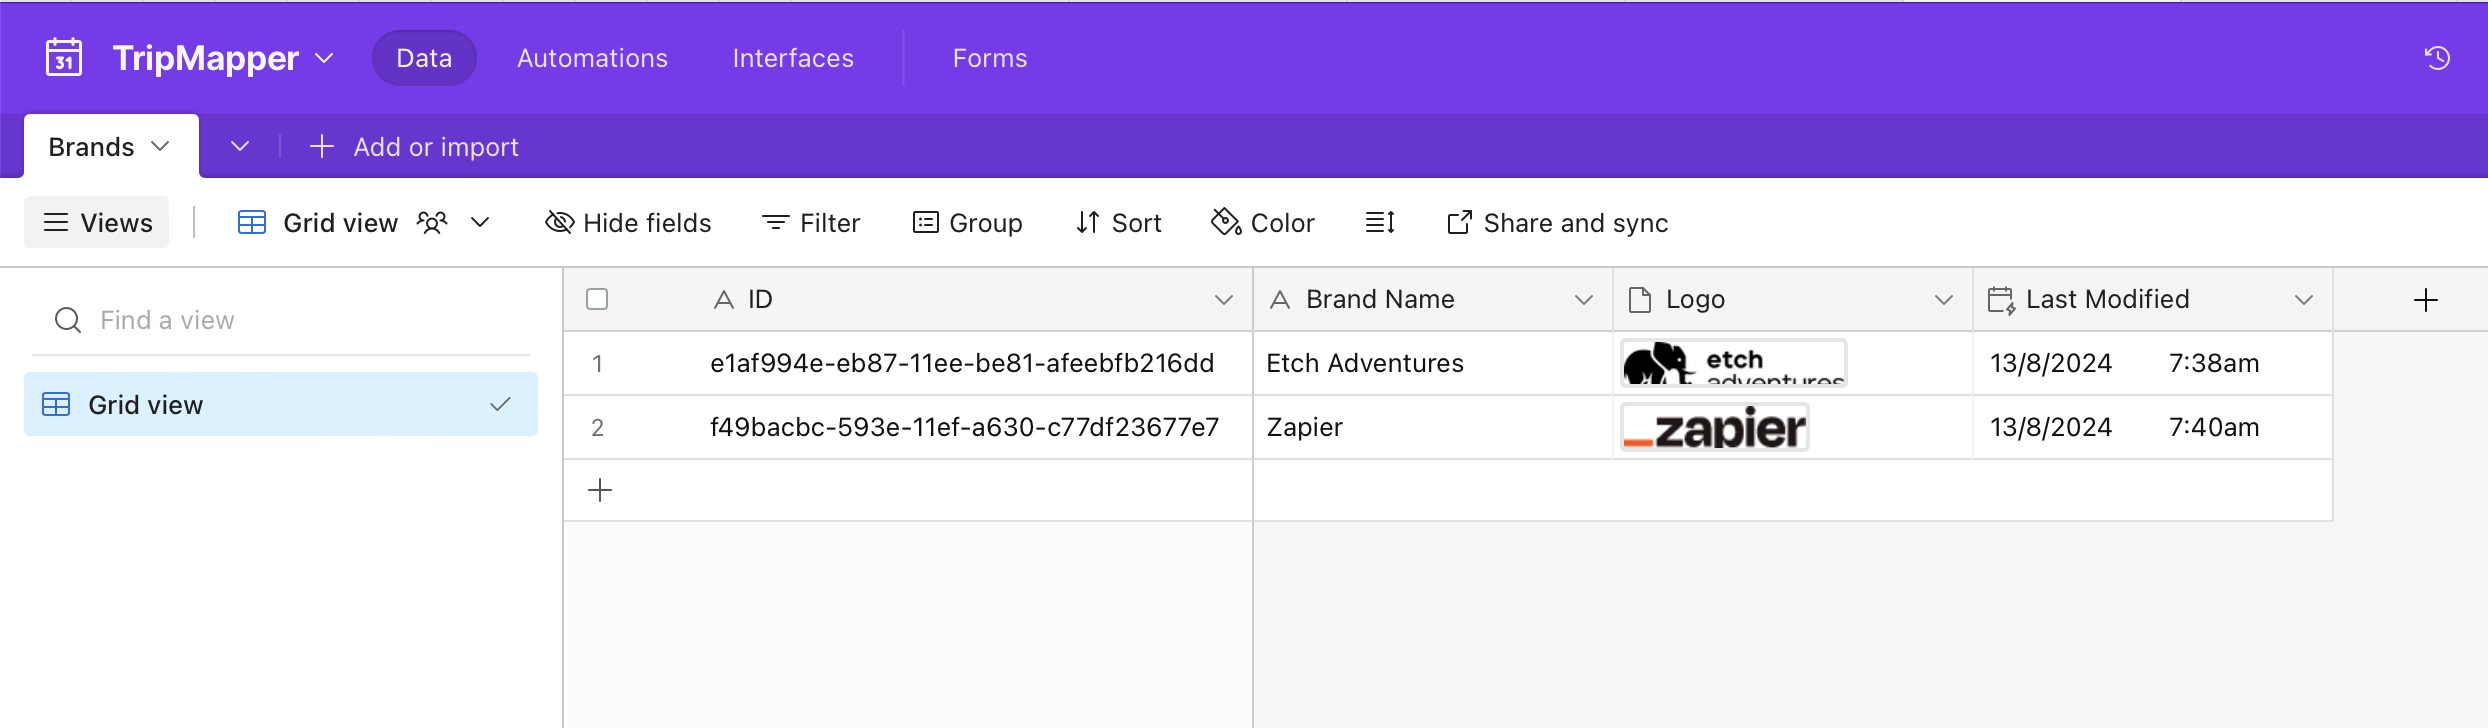
Before connecting to Airtable, it's a good idea to set up the table you plan to sync with, if you haven't already. At the moment, the `New Brand` trigger includes the following data points:
ID - the unique identifier determined by TripMapper
Name - the name you've given your brand
Logo - the URL of the brand logo uploaded to TripMapper
You can see an example of a table that can be synchronised with Airtable below.
The Action
The second part of this Zap is to sync the data you've collected to Airtable. To get started:
Click to add a step and select
Airtablefrom the app listOnce added, pick the
Create or Update Recordoption from theEventsdropdownClick Continue
Connect your Airtable account if you haven't already done so
Click Continue
On the
Actiontab, select your Base and Table in Airtable.Next, define your Lookup Field. We recommend using the TripMapper Brand ID for this, as it is a unique identifier for the brand and won't change. This should also, ideally, be the same as your primary field for that table, although it's not essential.
You can also define a secondary lookup field, which we suggest uses the Brand Name. This will help if you're adding Brands to Airtable and plan for them to sync back to TripMapper in a separate Zap.
Then, work down the field list that has been pulled from the Airtable table and match up the values coming from TripMapper.
Once you've assigned the values you want to sync, click Continue.
Finally, test the step to make sure you are able to successfully submit data to Airtable.
If the step is successful, you can click the Publish button to set your Zap live.