Adding custom fields to itinerary cards
To add custom fields to itinerary cards, follow the steps below:
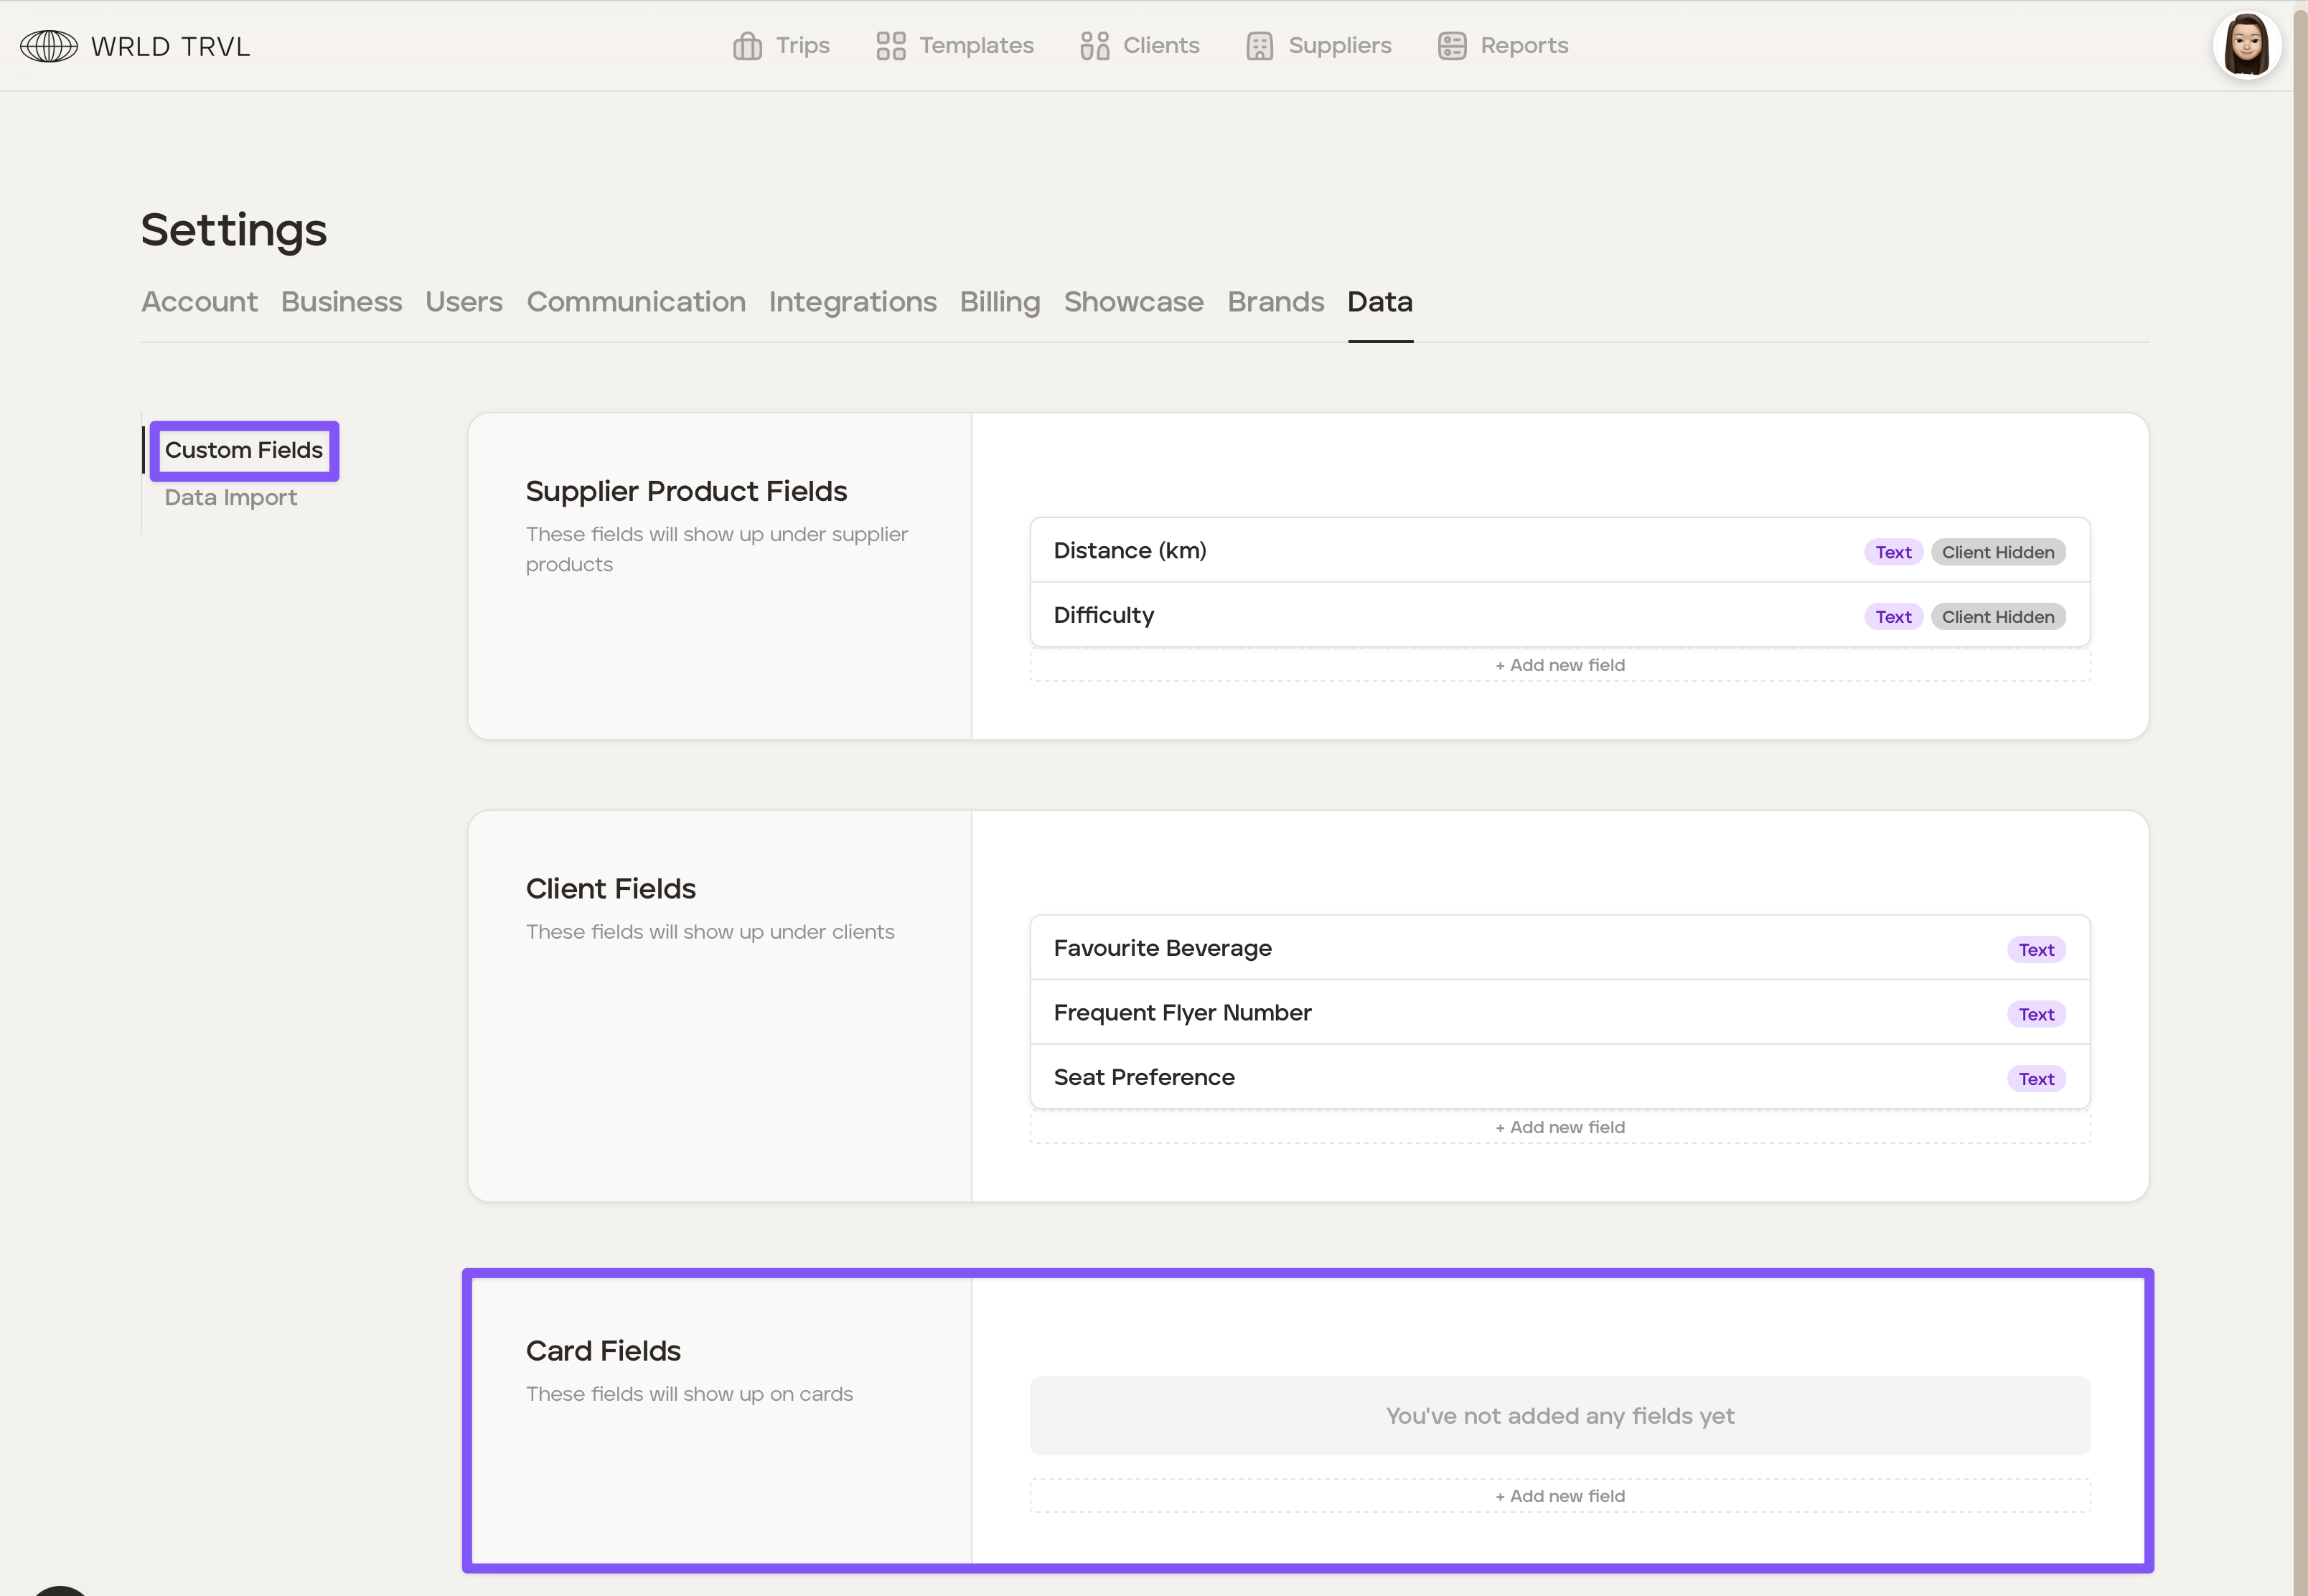
Go to the 'Settings' section of your account.
In the 'Data' tab (which only Owners and Admins have access to) click 'Custom Fields'.
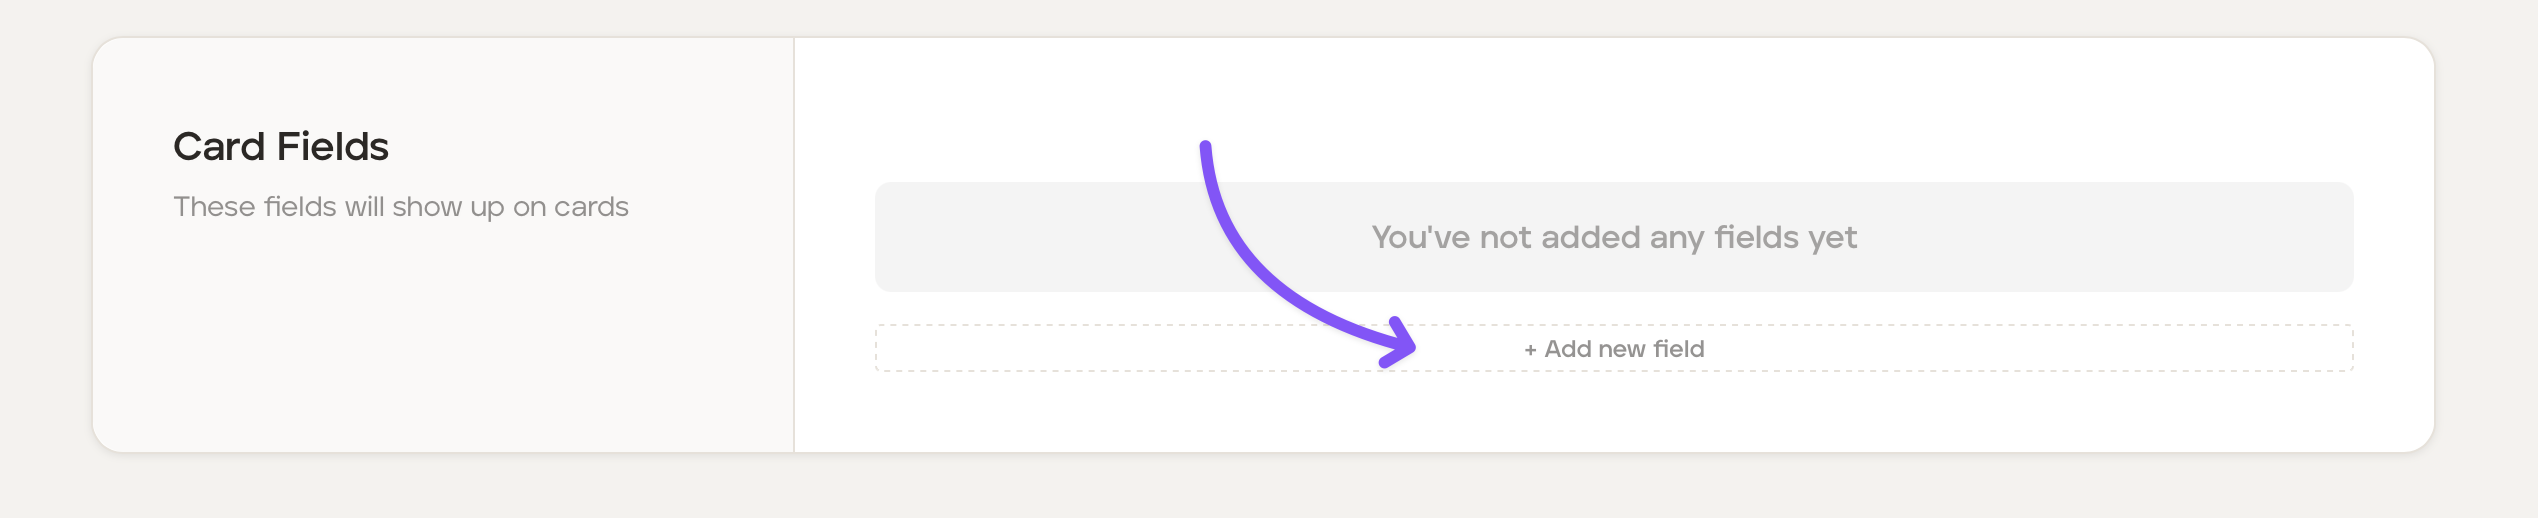
In the 'Card Fields' section, you can add a new field by clicking '+ Add new field'.
In the 'Name' field type in the name of your new field and decide on whether this field will be visible to your clients or hidden. You may wish to hide the data if it is just helpful internal information.
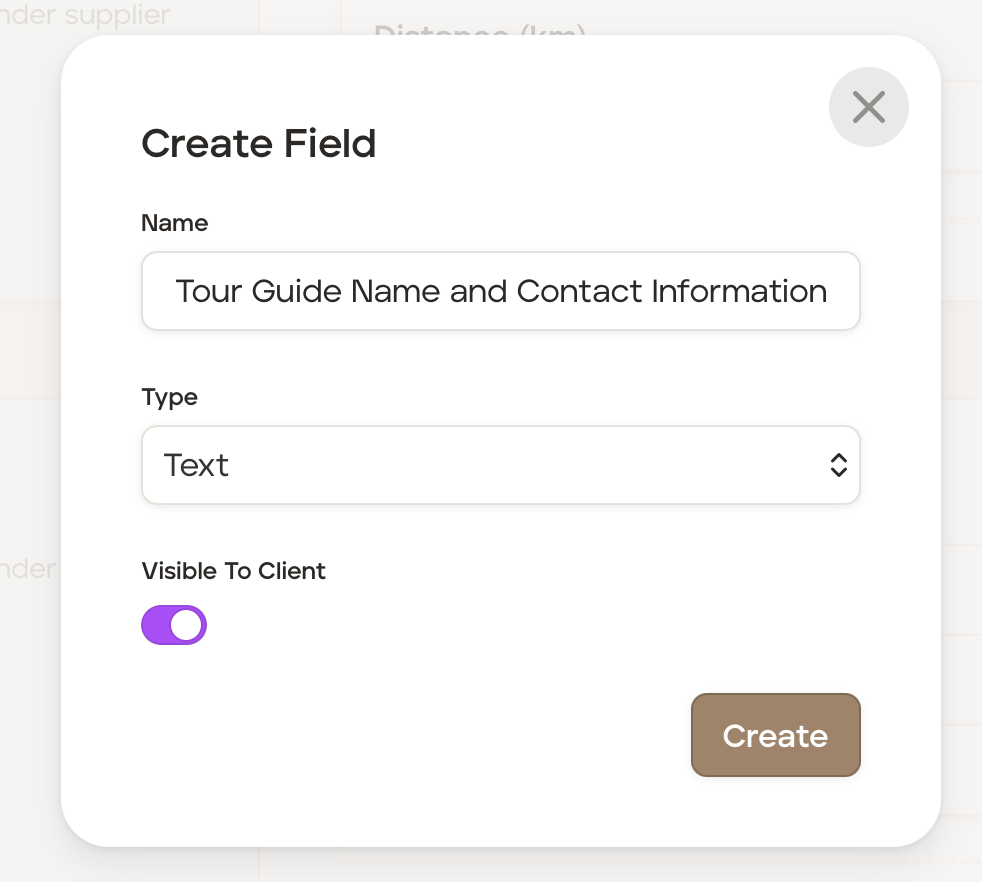
Once complete, click the 'Create' button to add the new custom field to cards.

To add further custom field to cards click '+ Add new field' and repeat steps 4 and 5 above.
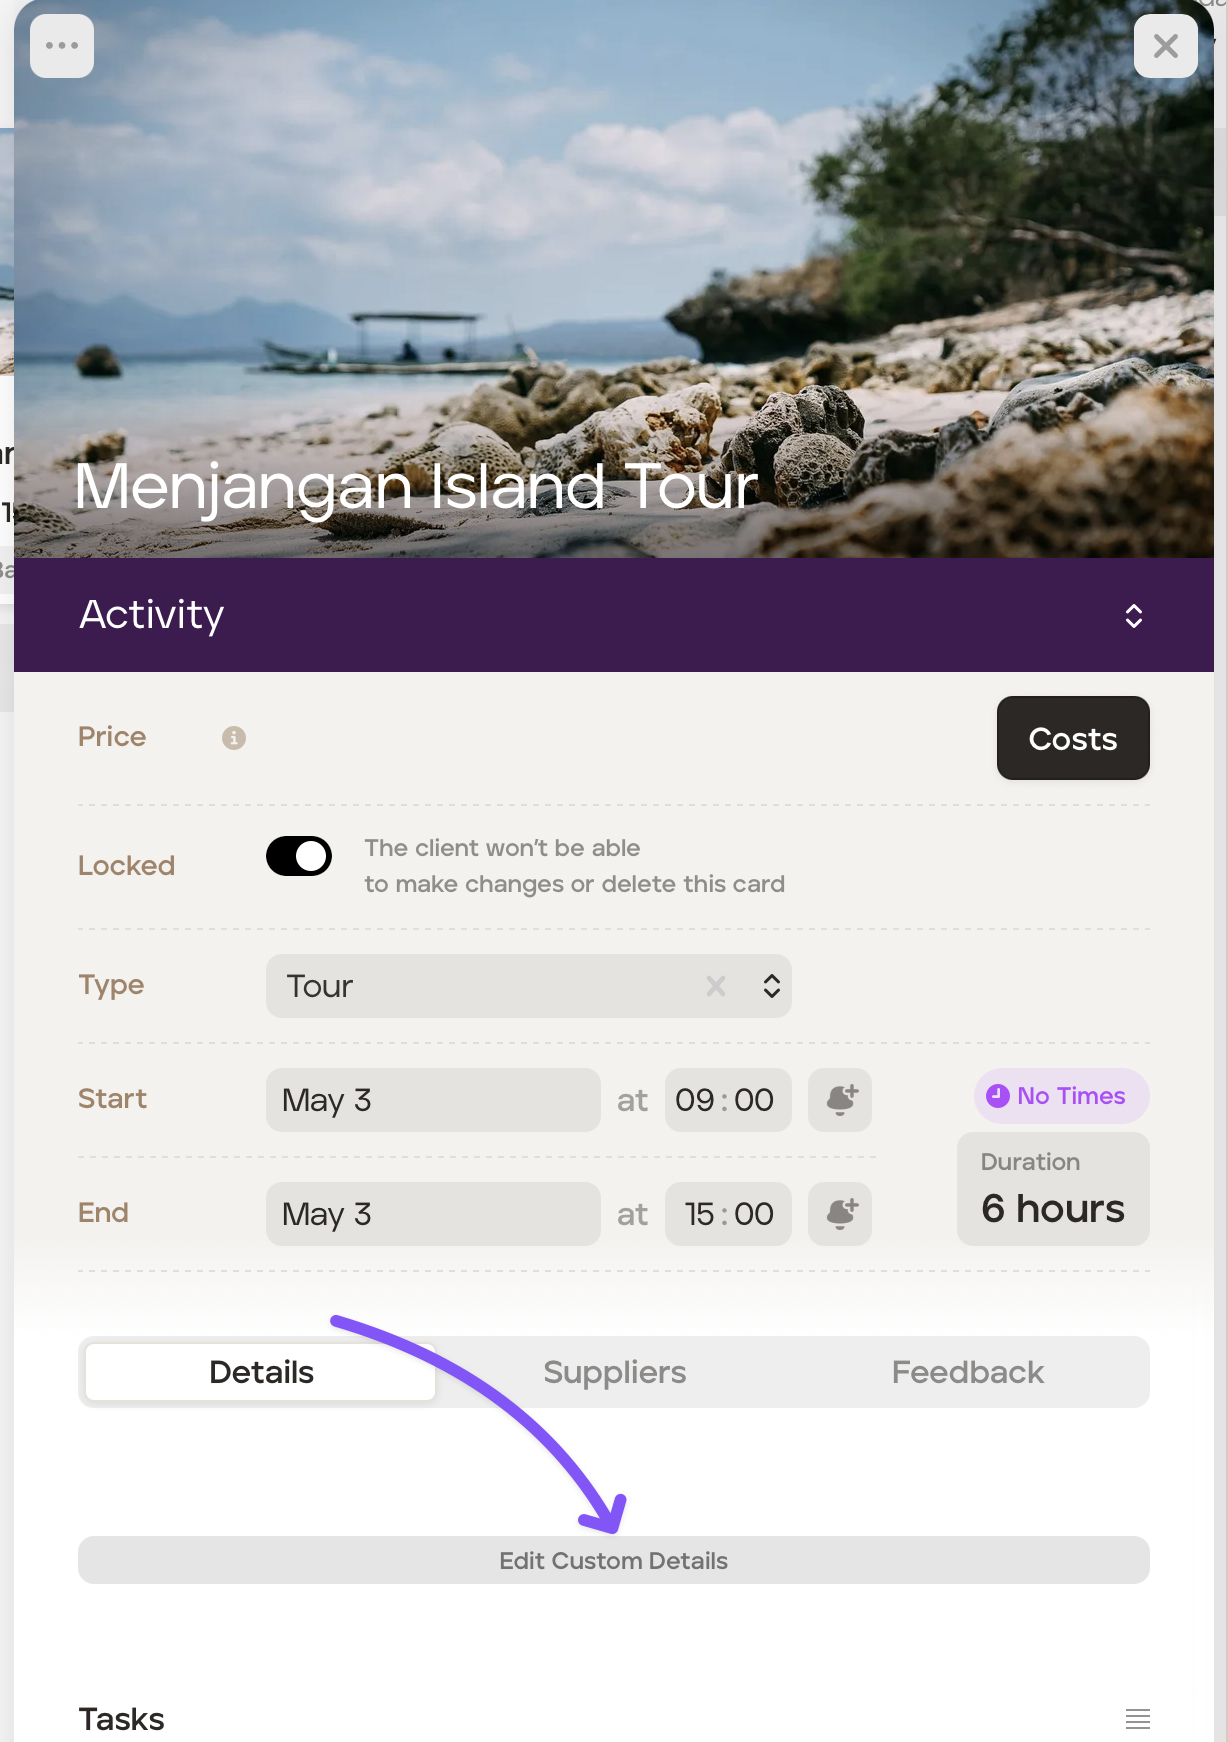
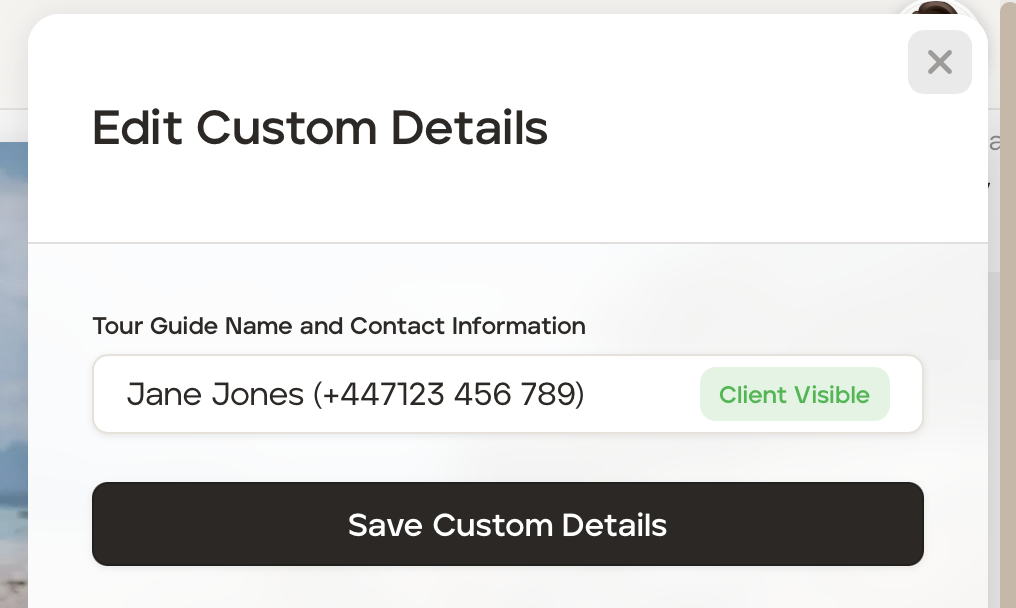
All itinerary cards will now have the newly created custom field (s). To add data into the field, open the card and click 'Edit Custom Details'.
Add the data in the field and click either 'Client Visible' or 'Client Hidden.'
Click 'Save Custom Details.'
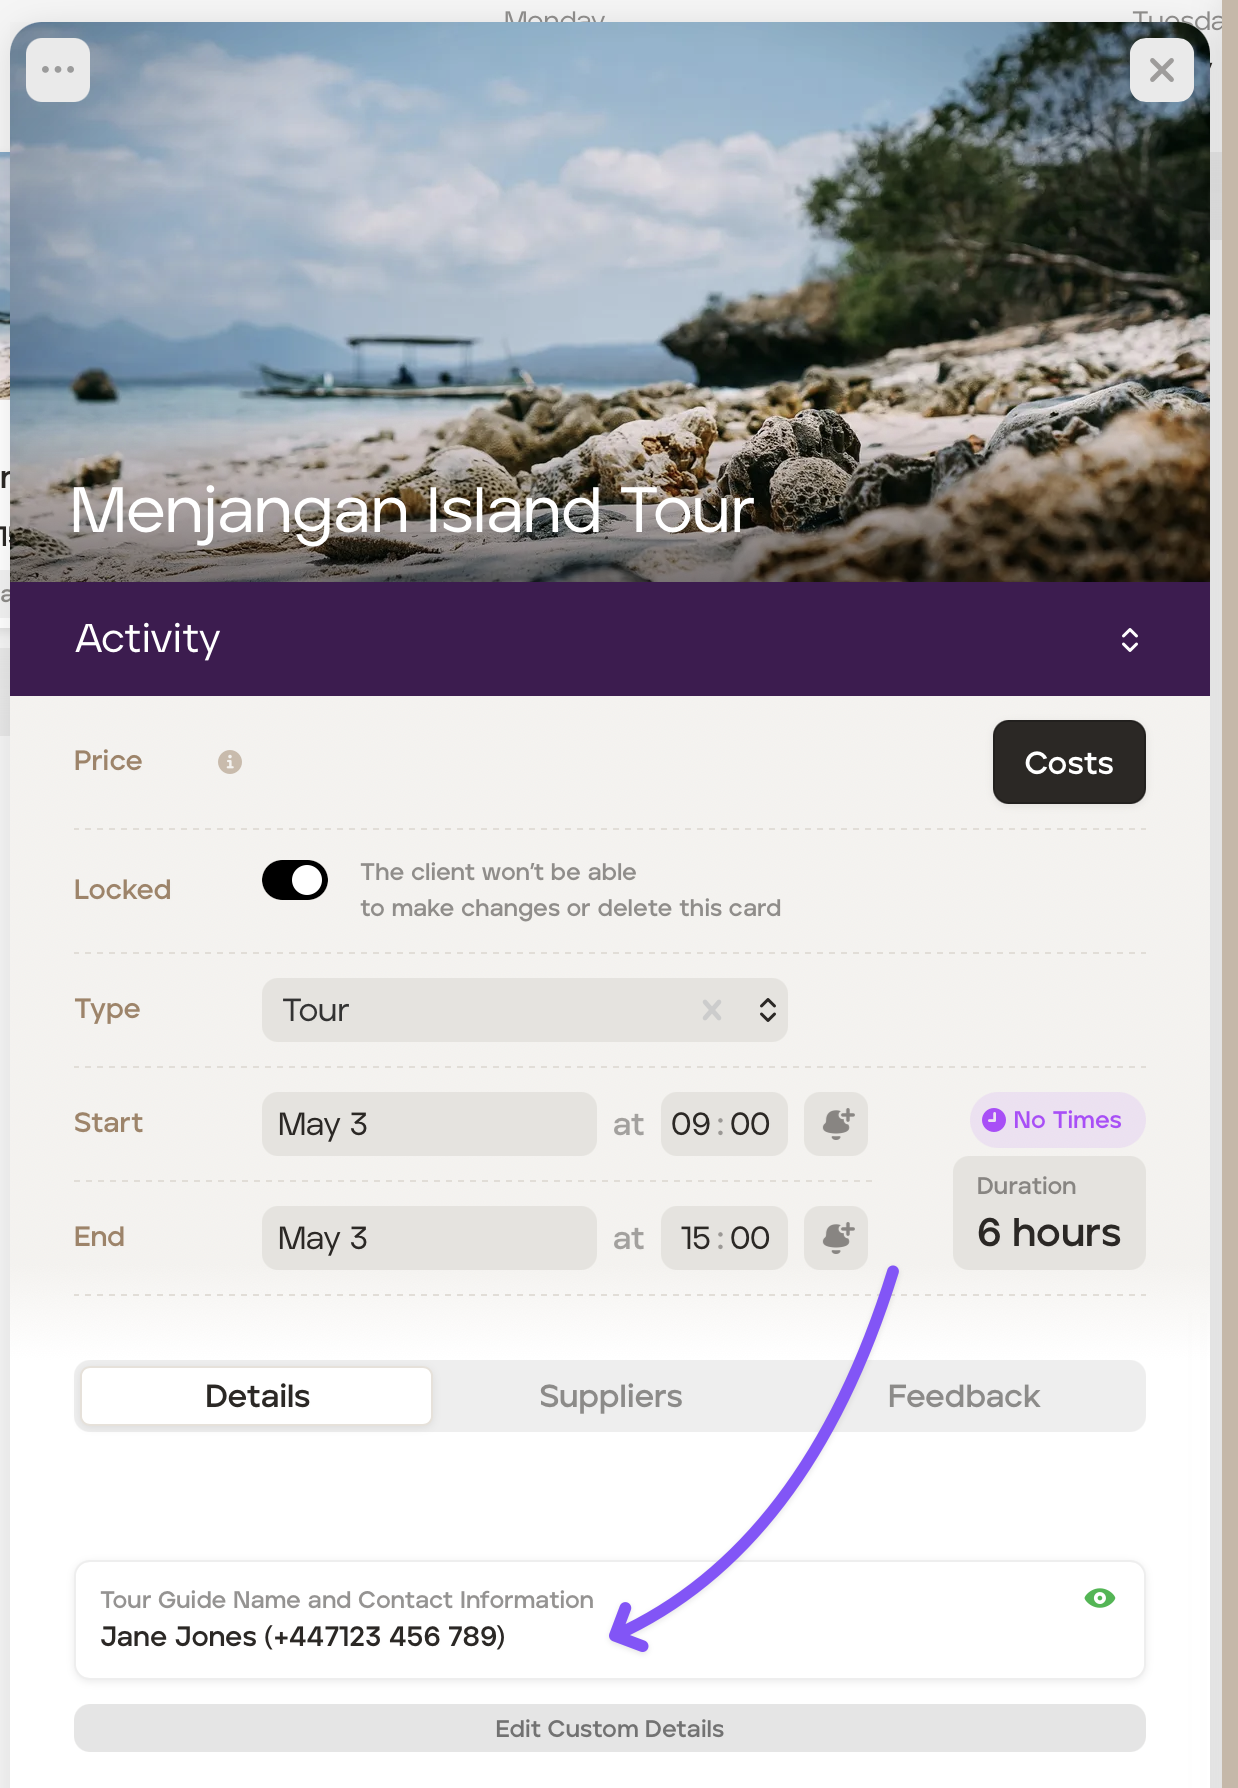
The data has now been saved in the itinerary card:
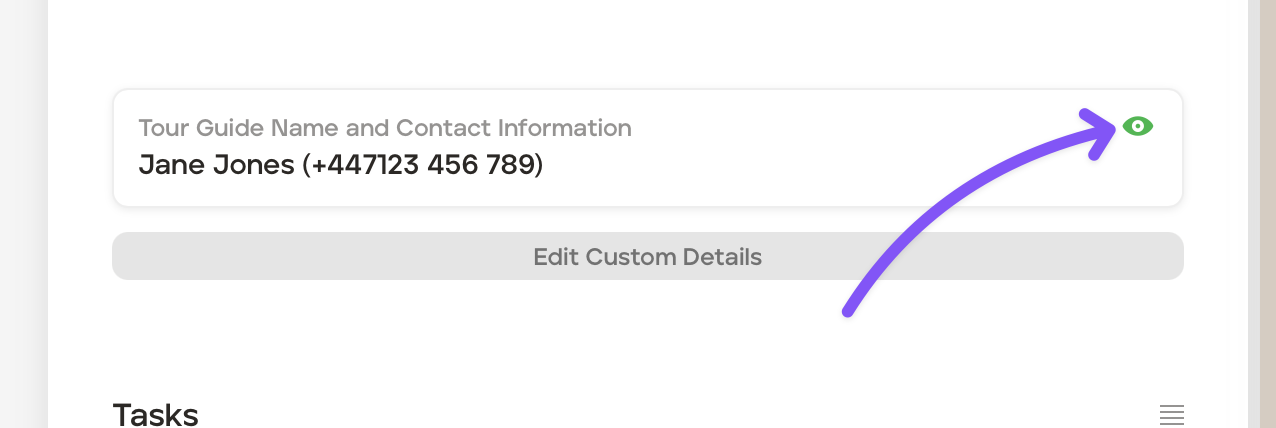
You can easily see whether the custom field data is visible to your client by the eye icon:
If visible to your client:
If hidden from your client:
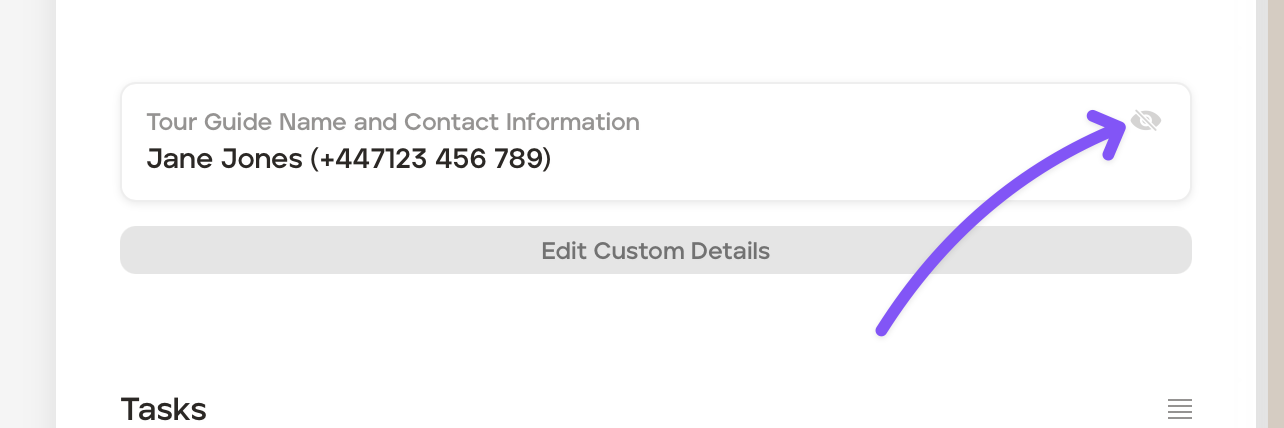
You can click the eye icon to change from visible to hidden, or vice versa.
To amend the data in the custom field, click 'Edit Custom Details', make your edits and then click the 'Save Custom Details' button.